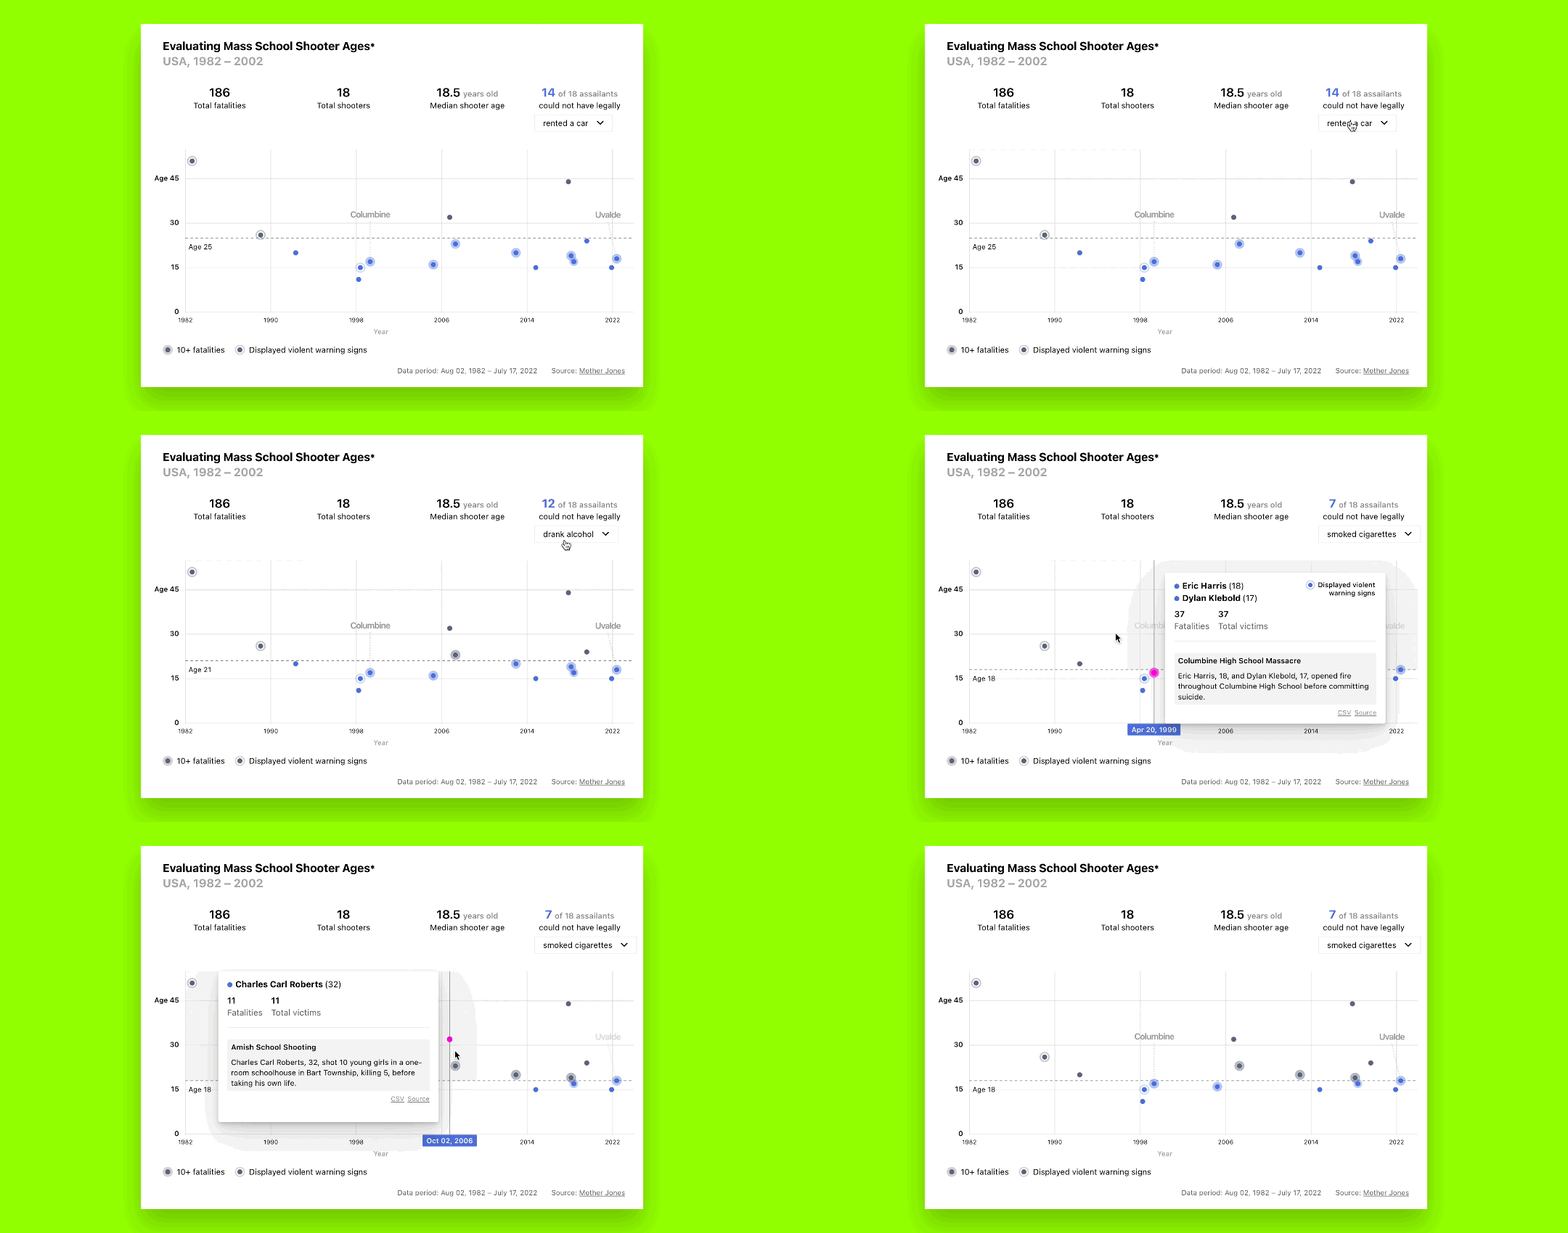
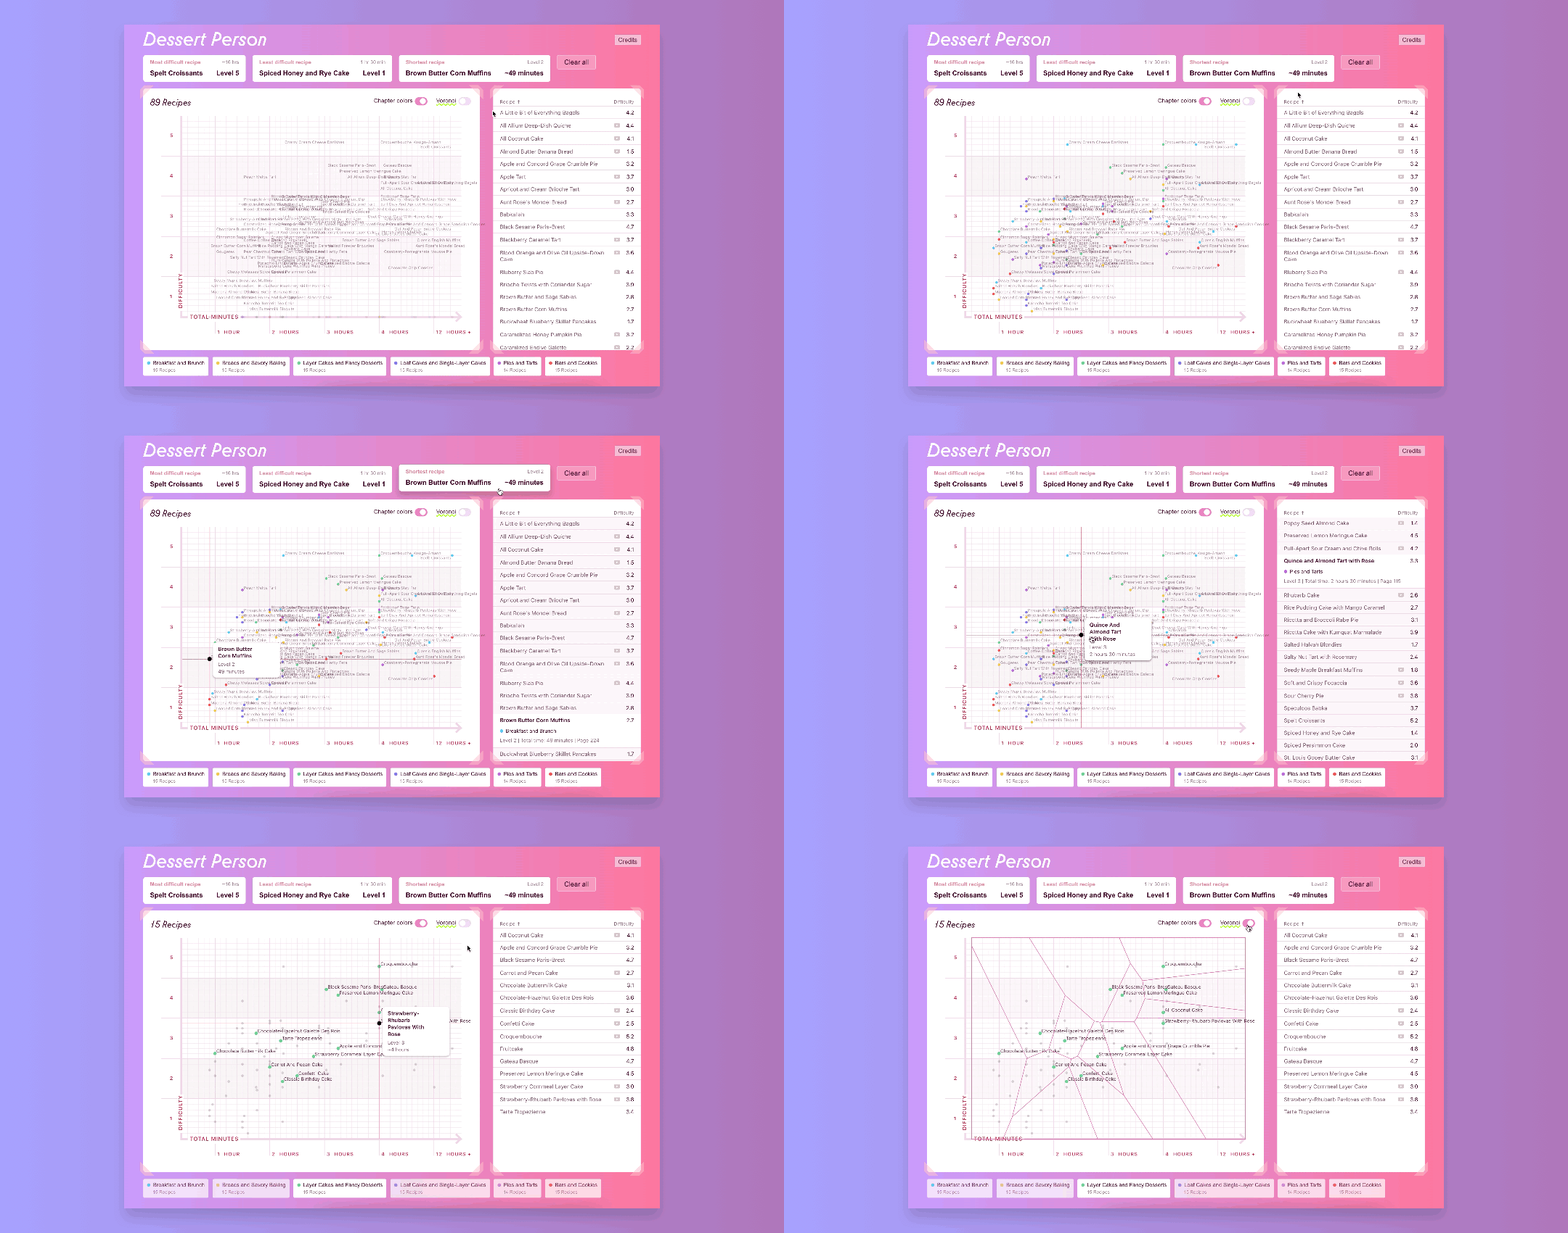
In this tutorial, we will collect and utilize the basic tools needed to spin up and edit a website. By the end, you will have a local environment set up and the workspace needed to start noodling on a website, data visualization, or any other kind of web-based project.
You might be a:
- Designer
- Data Scientist
- Web Developer
- Interested person at any skill level looking to create a website
This boilerplate
Note: We will be tackling a pure HTML, CSS, and vanilla JavaScript project—not any frontend frameworks like React, Vue, or Angular. We’ll save those for a rainy day.
Tools and files
- Terminal
- Node and npm
- Live server
- Text editor
- Sample project
The terminal
Using your machine’s terminal might look like the most daunting step to tackle, but it isn’t! With a few basic commands we will use it get a project up and running in no time.
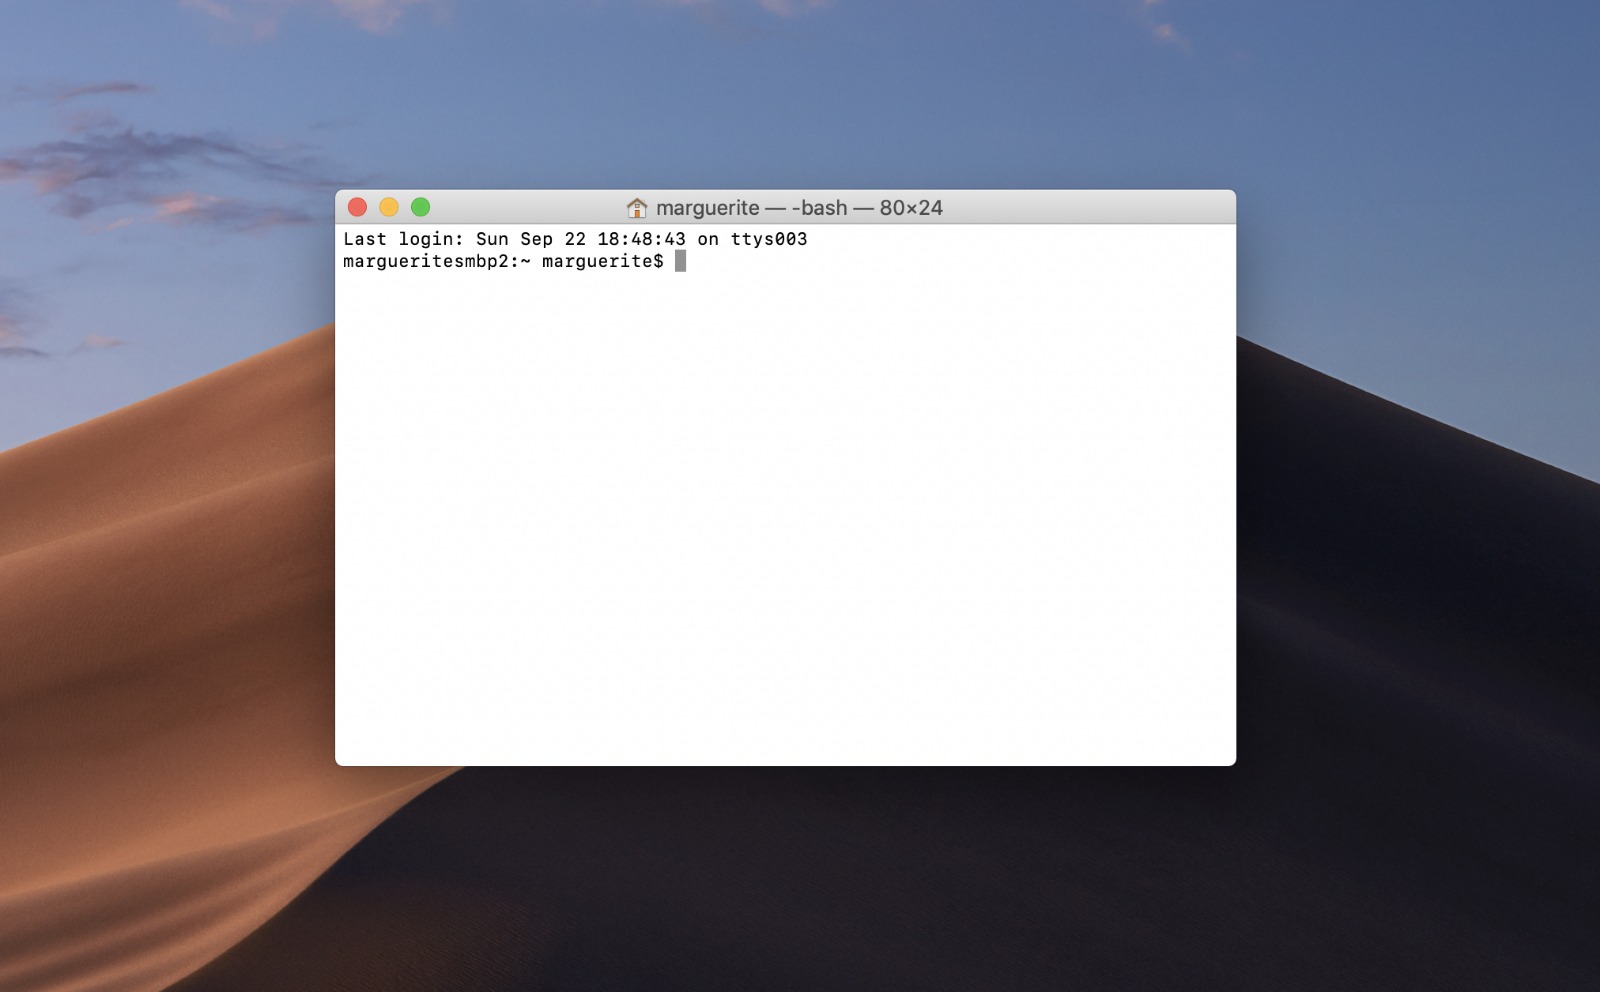
In a nutshell, the terminal (also known as the command line) is a way to interact with your computer. It is used to send commands to the computer like moving through files and folders, installing and running programs, creating and deleting documents, or anything else you do within your operating system. The command line used to be the only way to interact with your computer—think back to MS-DOS!
Even though command line GUIs (graphical user interfaces aka programs) exist, terminals are still commonly used in development. I find that I can do tasks more quickly within the interface, whether that be navigating to a project and starting a server, using git, or running multiple environments at once. Since writing commands is like using a language, it gives me the freedom to express exactly I’m trying to do.
And it all comes with time.
Open your terminal
MacOS: Finder -> Applications -> Utilities -> Terminal
Windows: Start -> All Programs -> Accessories -> Command Prompt
The images in this article show a MacOS environment and the iTerm terminal. The standard terminal that comes with your computer is fine to use.
Navigation commands used in this tutorial
Terminal commands will be shown in the following grey blocks with unicode text.
make directory (Creates a folder aka directory. Do not include the brackets when naming your directory.)
mkdir [folder-name]
change directory (Moves your terminal down one level into a folder)
cd [folder-name]
list files (Lists all files in the current directory)
ls
Node and npm
Node is a run-time environment for JavaScript. I.E. it helps execute JavaScript code. You may already have Node installed. To check, open up your terminal, paste this command, and hit enter.
node -v
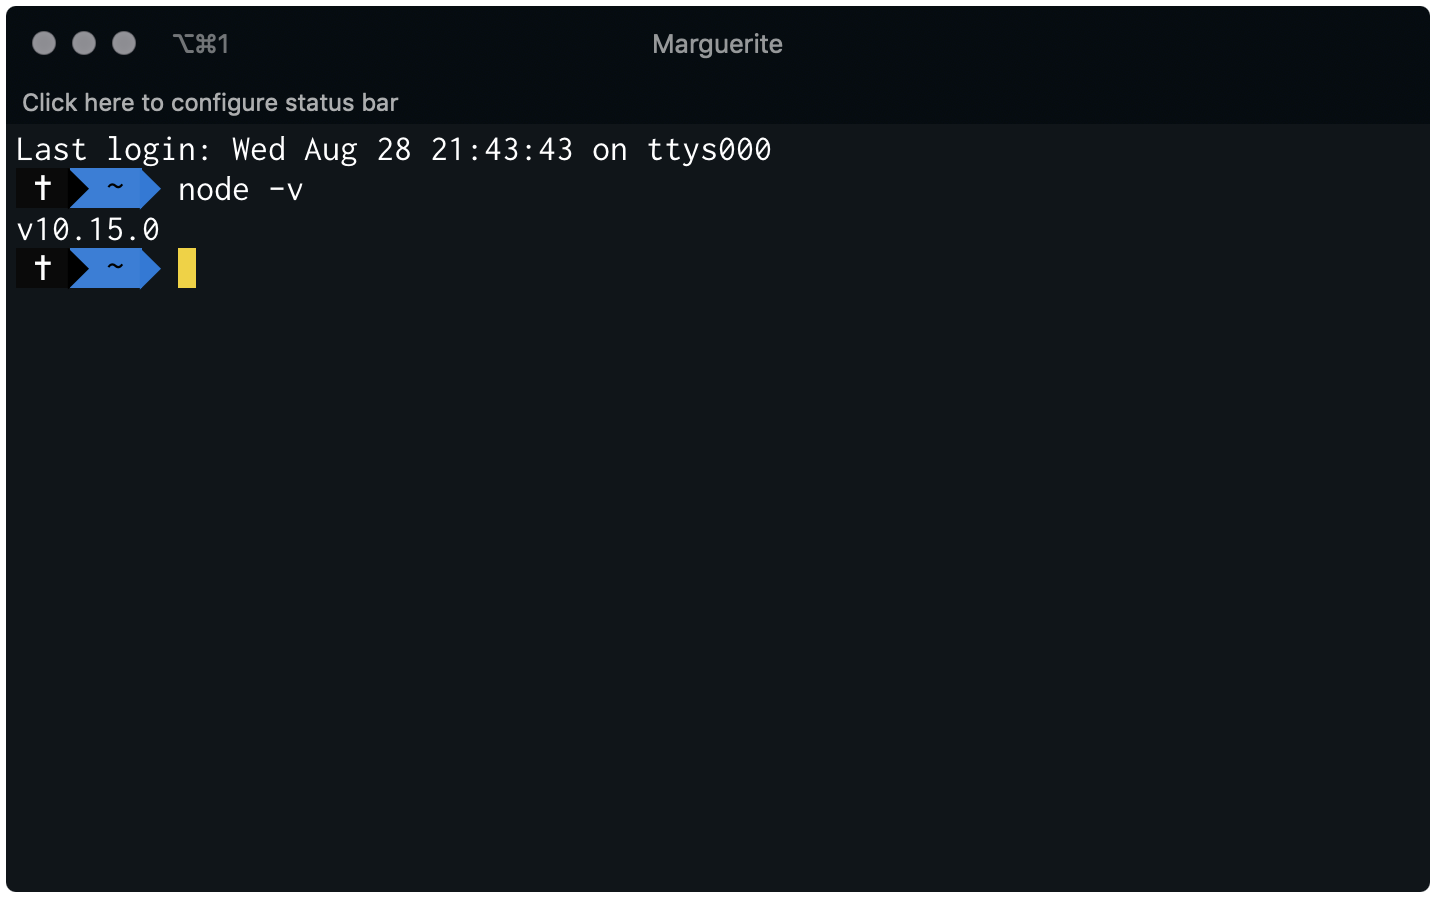
If Node is not installed, the terminal will say that Node is not found. Head to nodejs.org, download the LTS version on the left, and follow the installation instructions. After installing, running the node -v command will return the Node version, verifying that Node is installed on your machine.
Live Server
Live Server is an application that runs on your computer with the use of server software and runs JavaScript code. Essentially, this mimics a production server for a website.
Live Server is a wonderful and free development server that comes with a hot reload capability (automatically refreshing your browser anytime a saved change is detected).
To install, run the following command in your terminal:
npm install -g live-server
If you need to add sudo, the command will look like this:
sudo npm install -g live-server
Text Editor
You may already have a text editor you prefer to use. Skip this section if you don’t want to install VSCode.
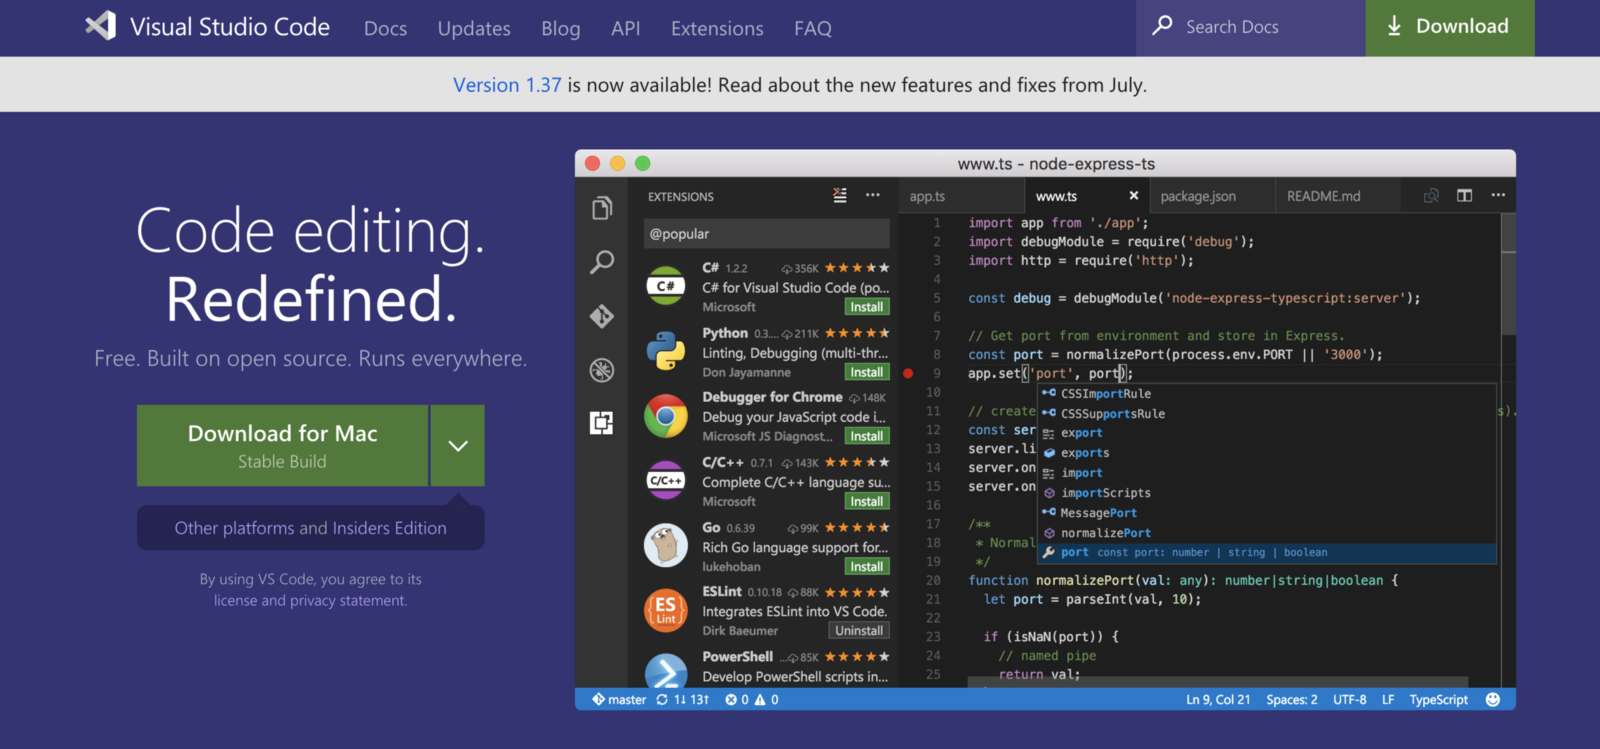
A text editor is a program that allows you to write and edit all the code for your project in a range of programming languages.
The text editor used in this tutorial’s screenshots is Visual Studio Code. I switched to VSCode because I like the large the large extension library and themes it provides.
To install VSCode, head to code.visualstudio.com, download, and follow the installation instructions.
Other text editors:
Folder organization
If this is your first dev project, I recommend keeping all project folders organized in the same location. My project repos are organized in a folder called repos located in my User root folder.
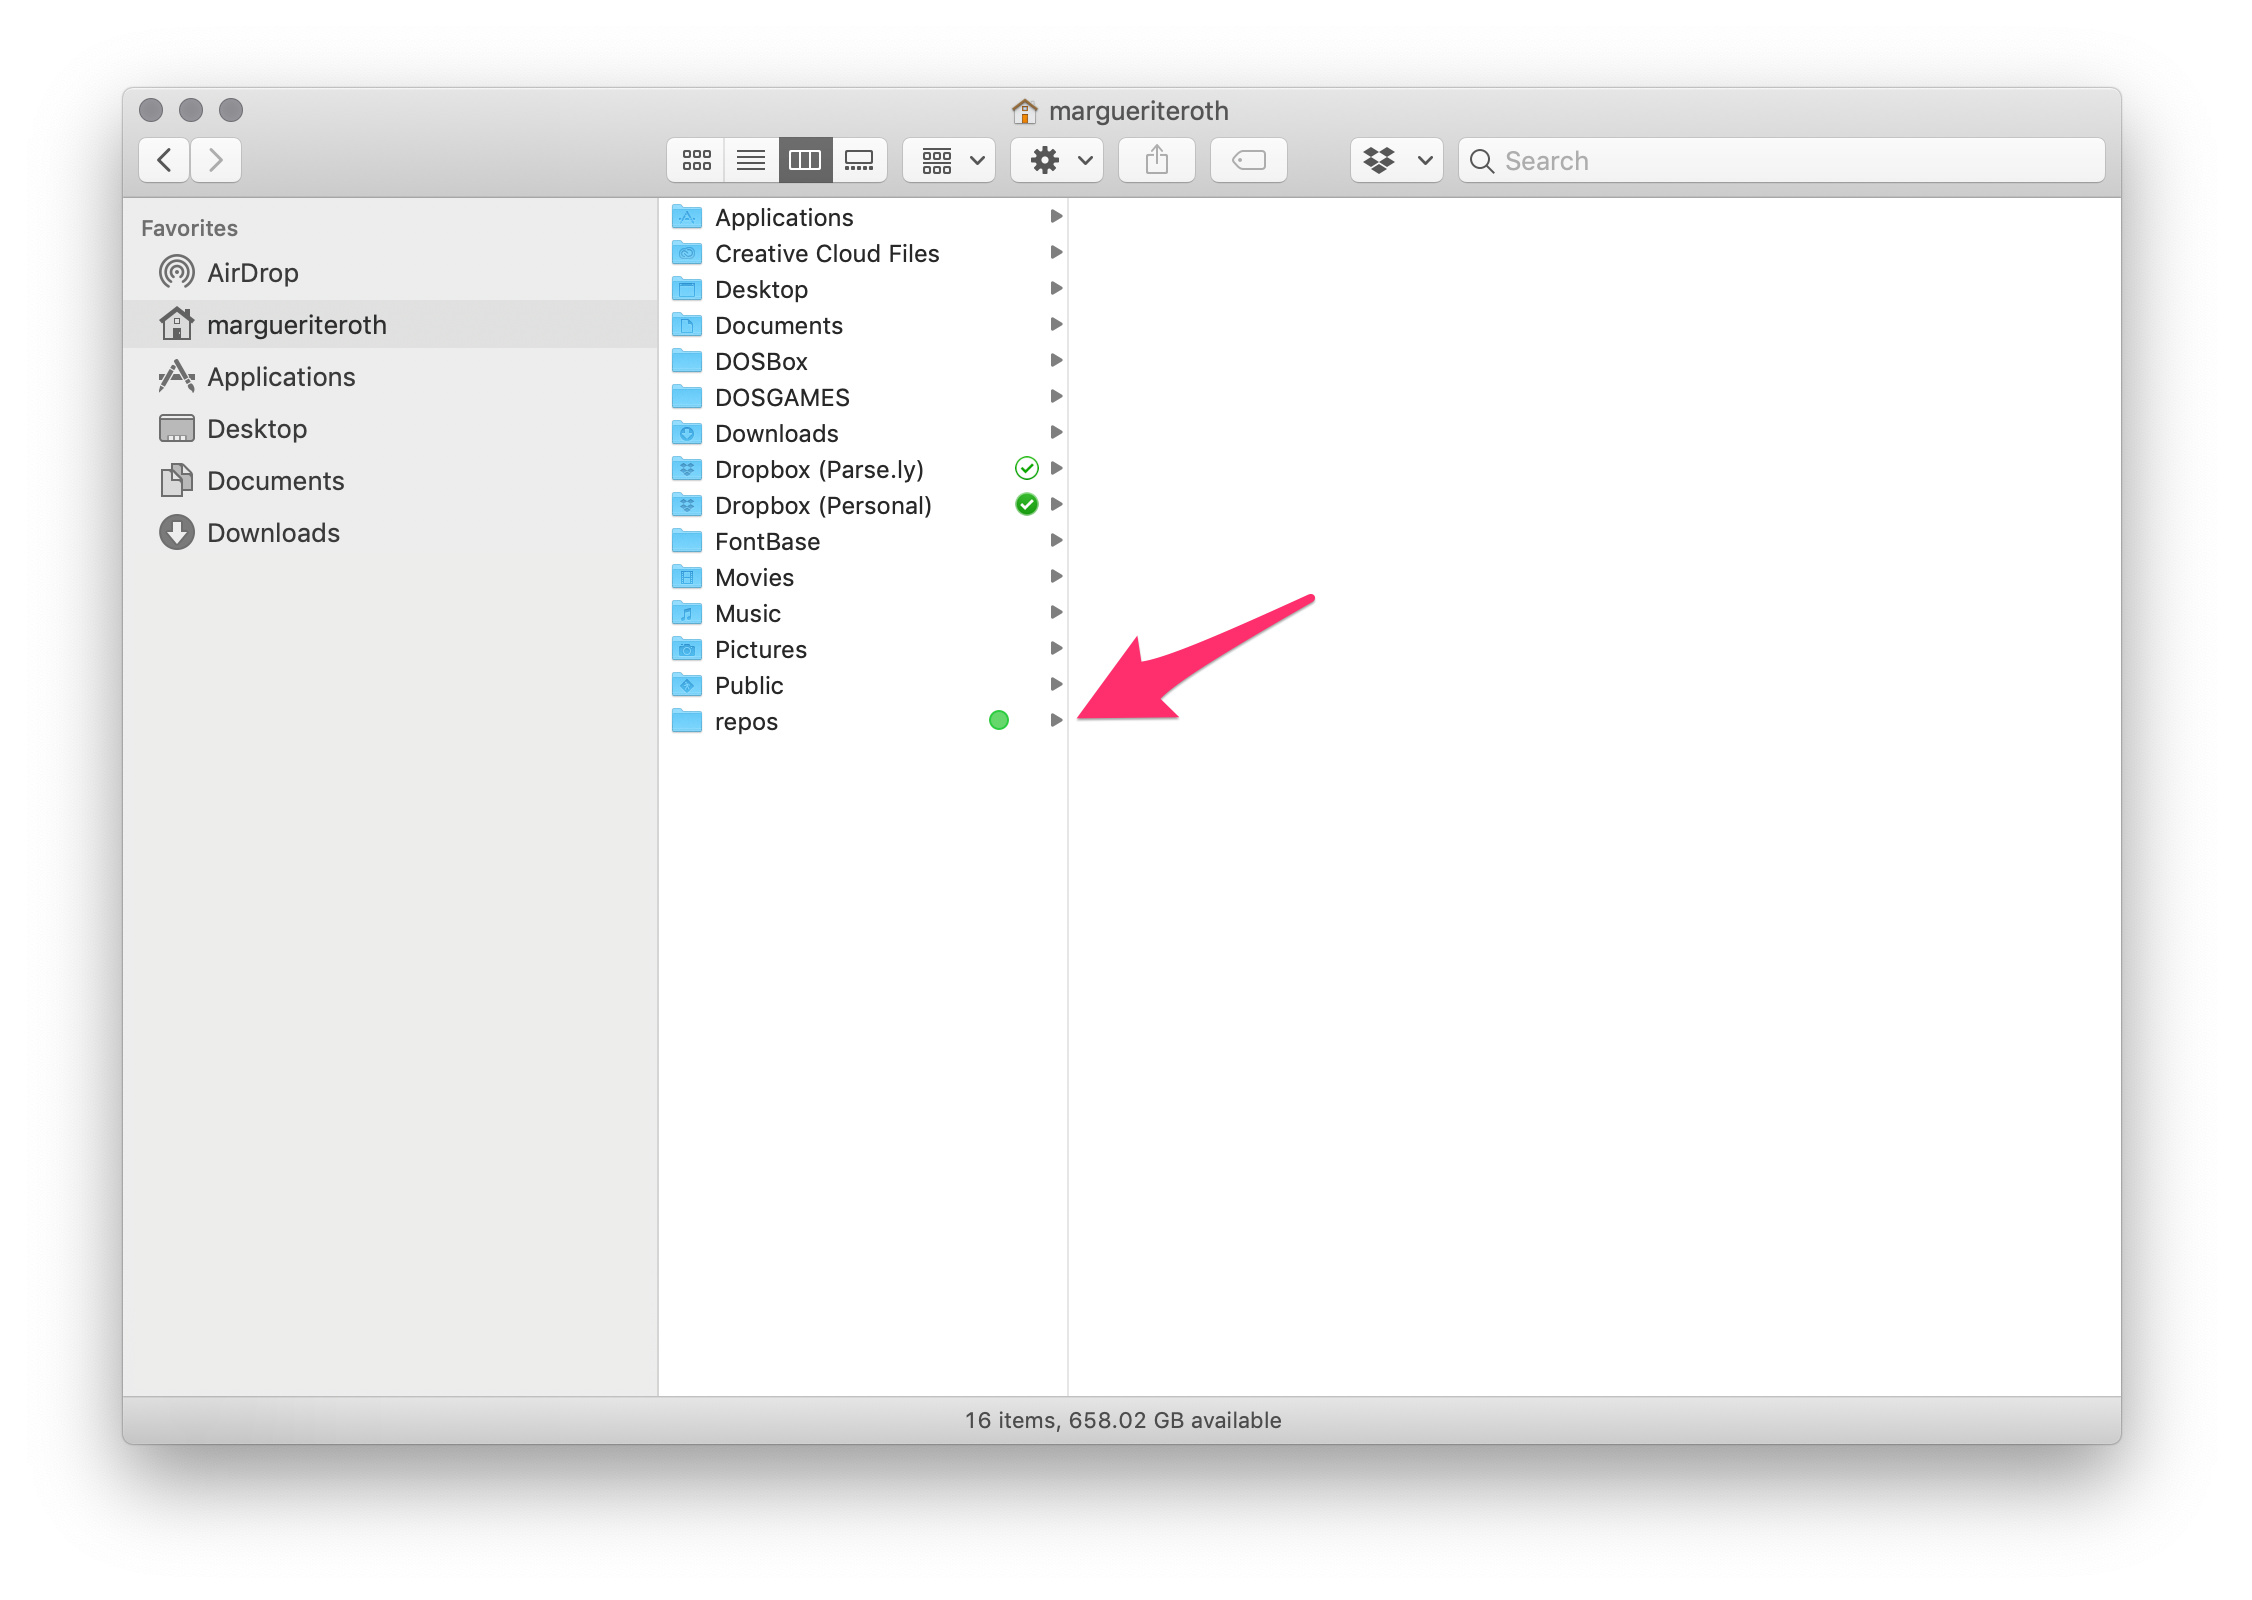
A new terminal window will usually default your User root folder. Having my repos folder here lets me quickly point my terminal to that folder and to project. I suggest keeping your projects in a similar spot.
To create a new folder in your User root (your name) via the command line, open your terminal and make a repos folder:
mkdir repos
Navigate inside your repos folder (change directory):
cd repos
Clone the sample project
Once inside your repos folder, copy (clone) the sample project:
git clone git@github.com:marguerrrite/our-project-starter.git
If you don’t want to use the terminal for this, create a repos folder the way you normally create new folders and directly download and unzip the project files: https://github.com/marguerrrite/our-project-starter/archive/master.zip.
Once cloned, the sample project will appear in your repos folder. Point your terminal into this new project folder:
cd our-project-starter
Here you will find our three project files: index.html, styles.css, and scripts.js (the README.md is only used for the github repo description. Feel free to ignore it!).
Overview of the HTML, CSS, and JS files
index.html
The homepage page for a website is index.html. HTML stands for Hypertext Markup Language. A markup language is a set of instructions on how to create a document, like a webpage for your browser. Markdown is another type of markup language.
styles.css
CSS stands for Cascading Style Sheets and it is a styling language used to style the HTML elements (ie. element size, color, placement, font, etc.). Within a CSS file, you target DOM elements using ids, classes, tags, and style using CSS syntax.
You may have seen CSS preprocessor files around: .less, .sass, and .scss, and a few others. Preprocessors are CSS-like languages that compile into CSS to be used by a browser. They allow developers to write CSS with less repetition and added functionally like mixins and color functions.
To keep things simple, we are sticking with vanilla CSS for this tutorial.
scripts.js
This is where our JavaScript lives. JavaScript is a client side scripting language used by your browser—it makes our static page intelligent (not to be confused with the Java programming language). With JavaScript, you can create complex interactions, calculations, and more.
Moment.js, and D3.js are examples of common JavaScript libraries.
Running the sample project
Okay, the good part. Now that we have installed all the tools and downloaded the sample project, it is time to fire this baby up.
Make sure the terminal is pointed to the project directory. If not, navigate to it:
cd our-project-starter
For the server to run our project, the server command needs to run while while in the project folder, which we just navigated to in the previous step. Otherwise, it will try and run something else.
Start the server 🔥
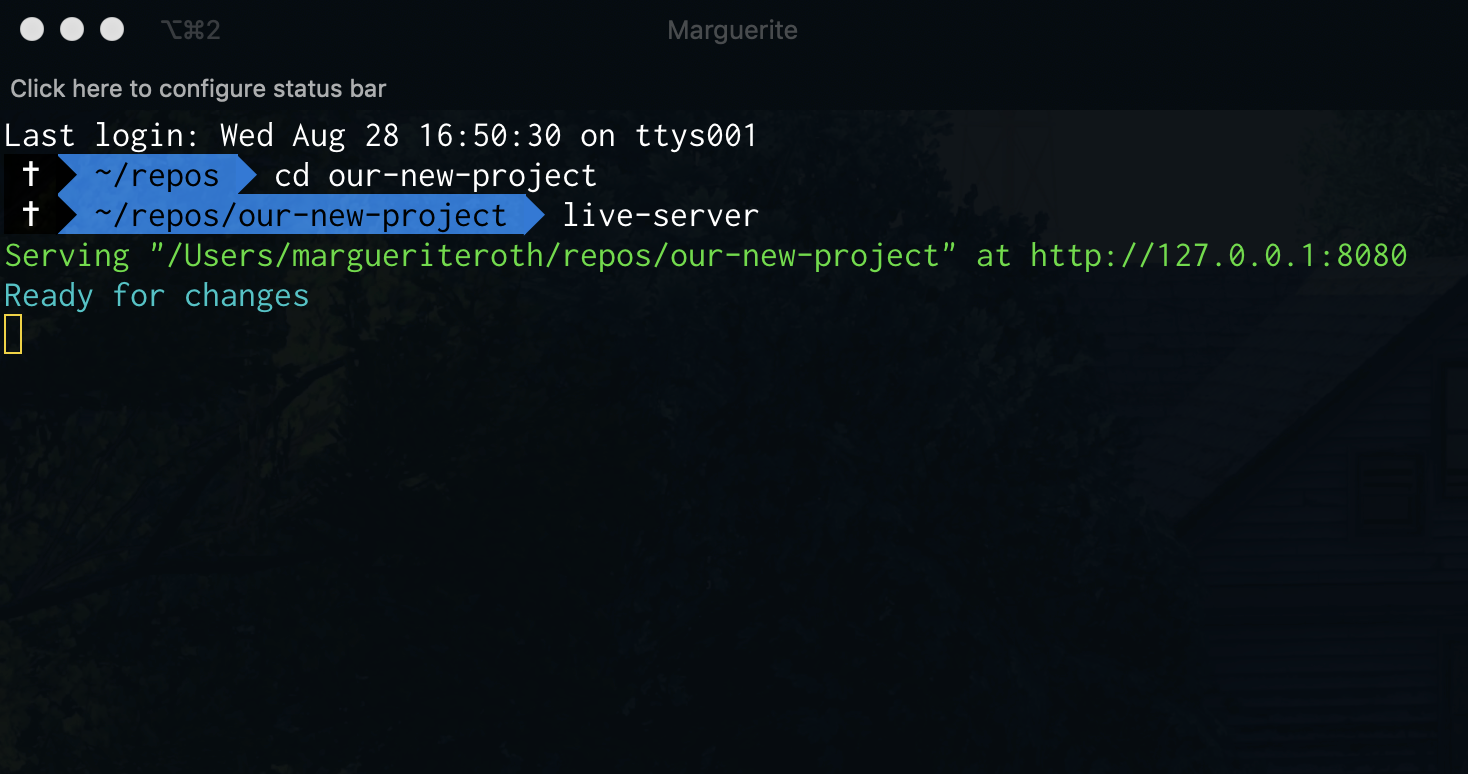
live-server
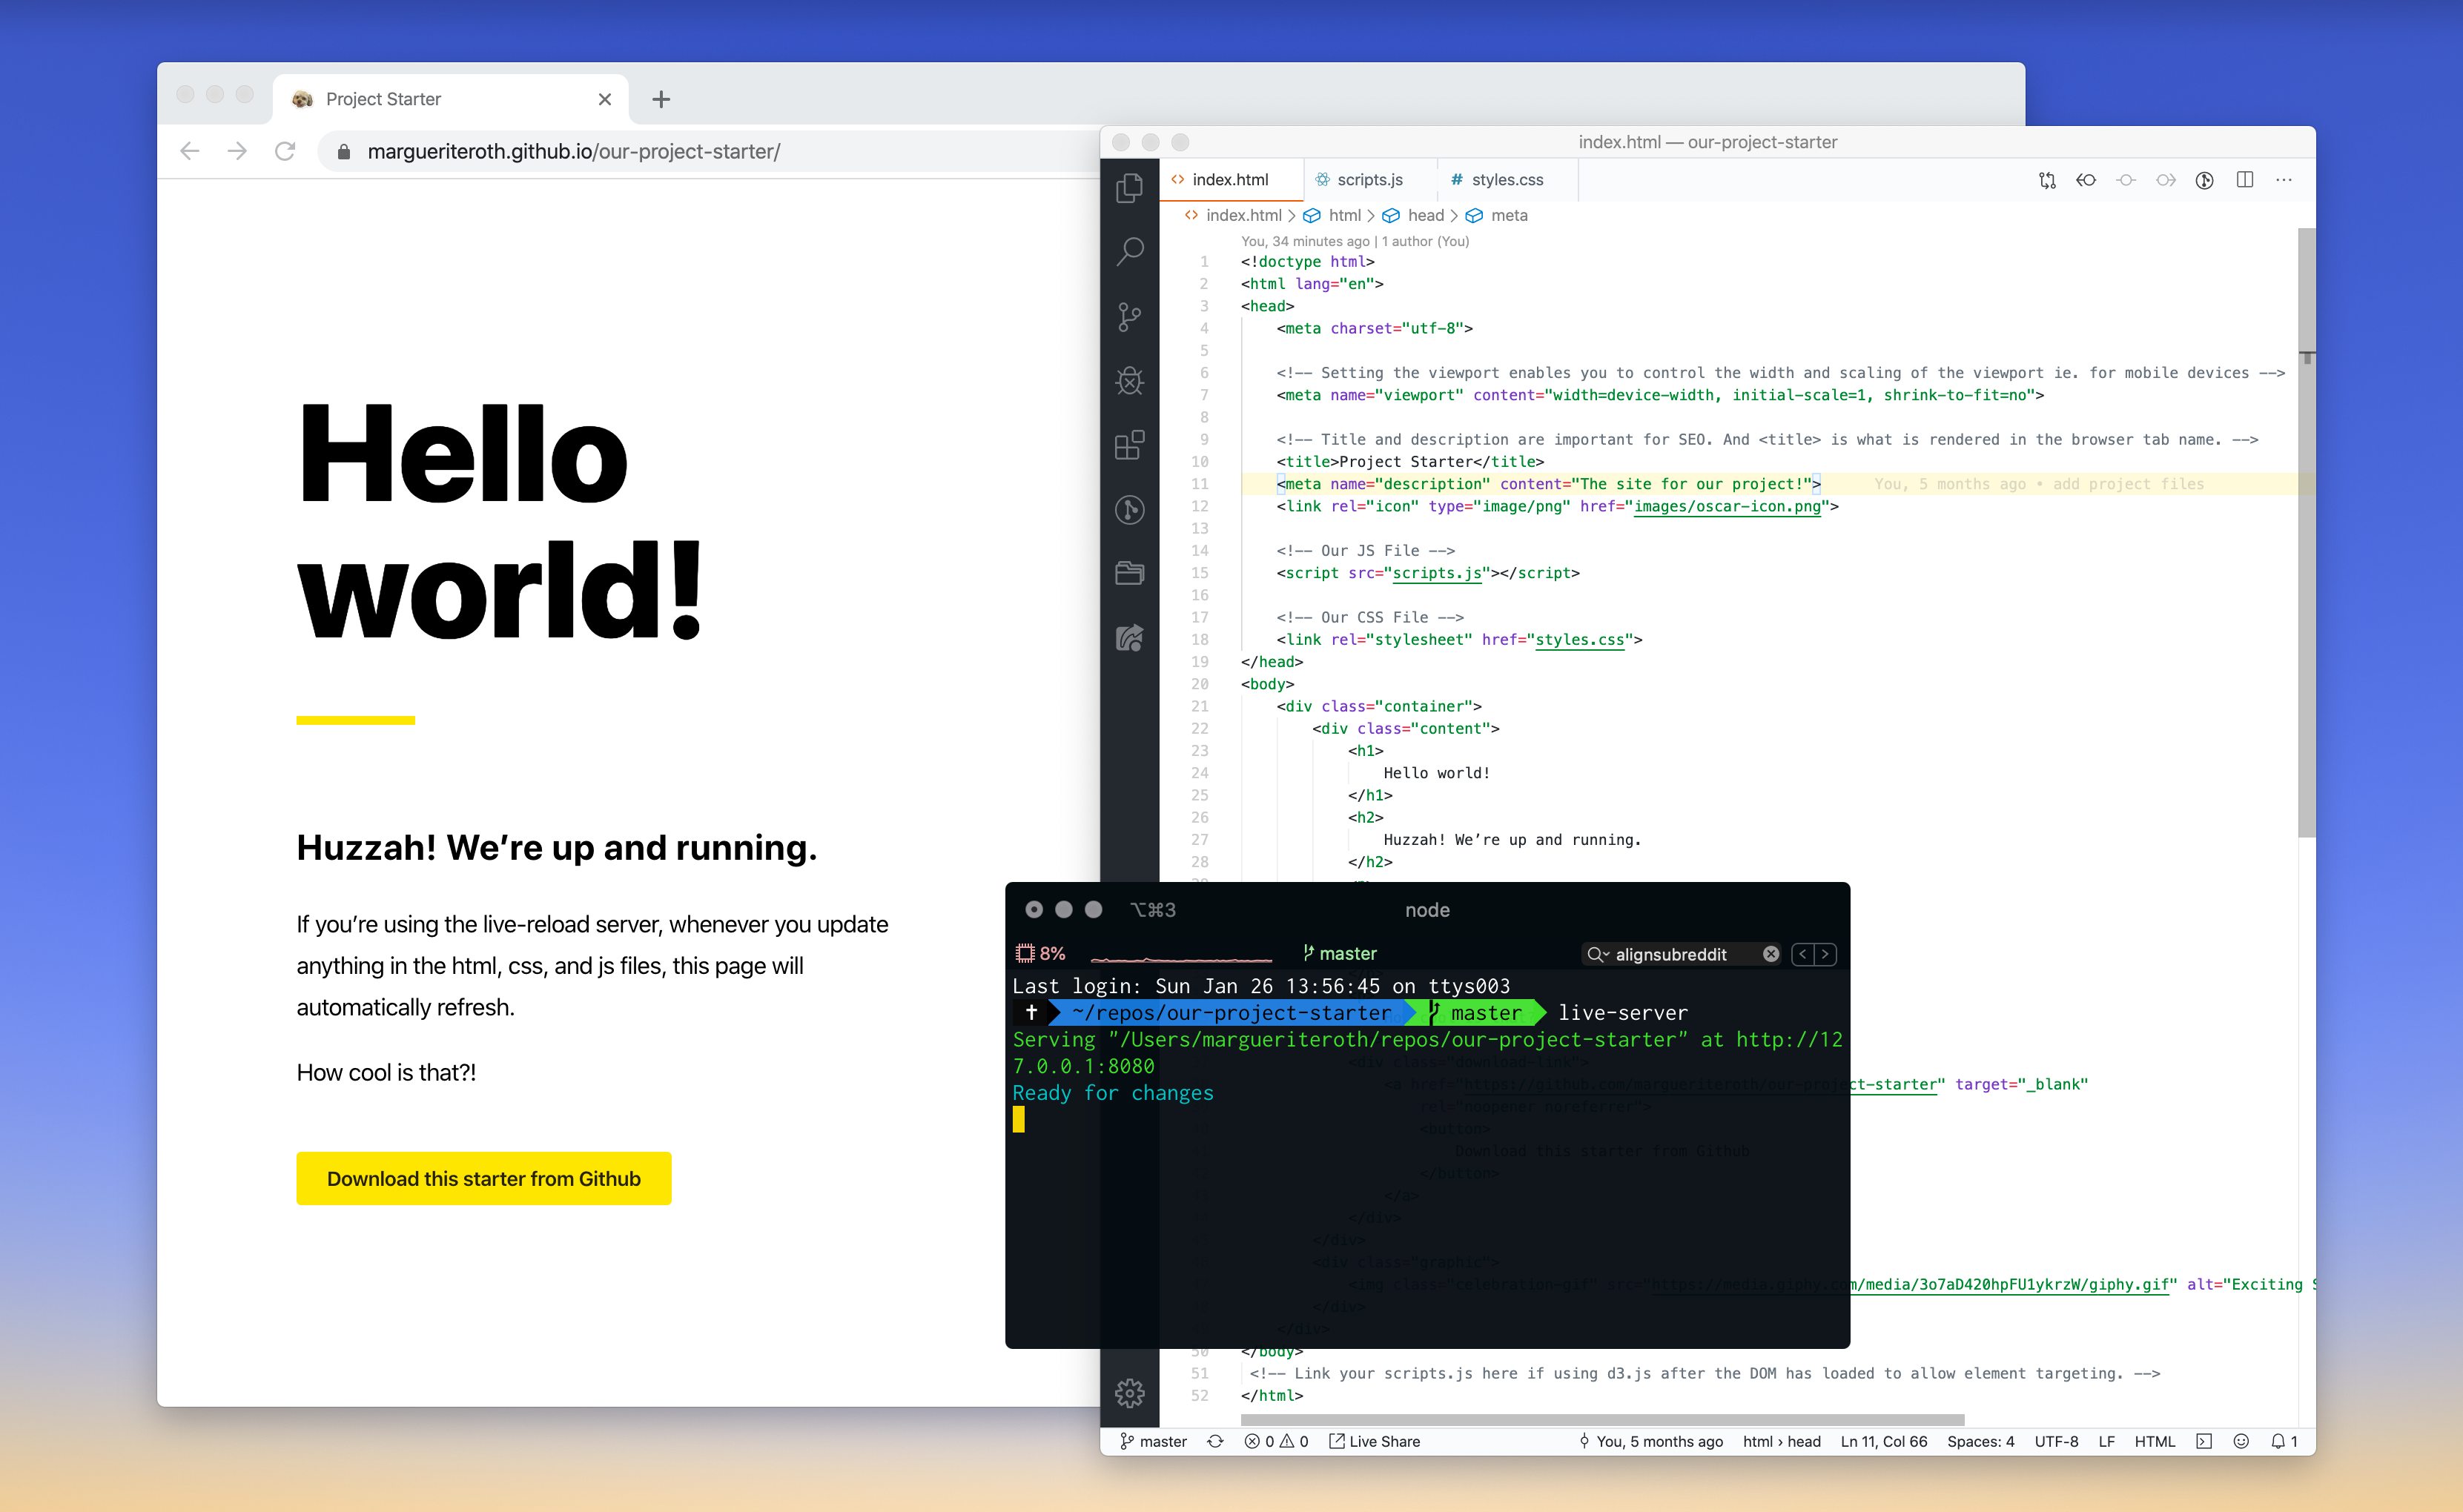
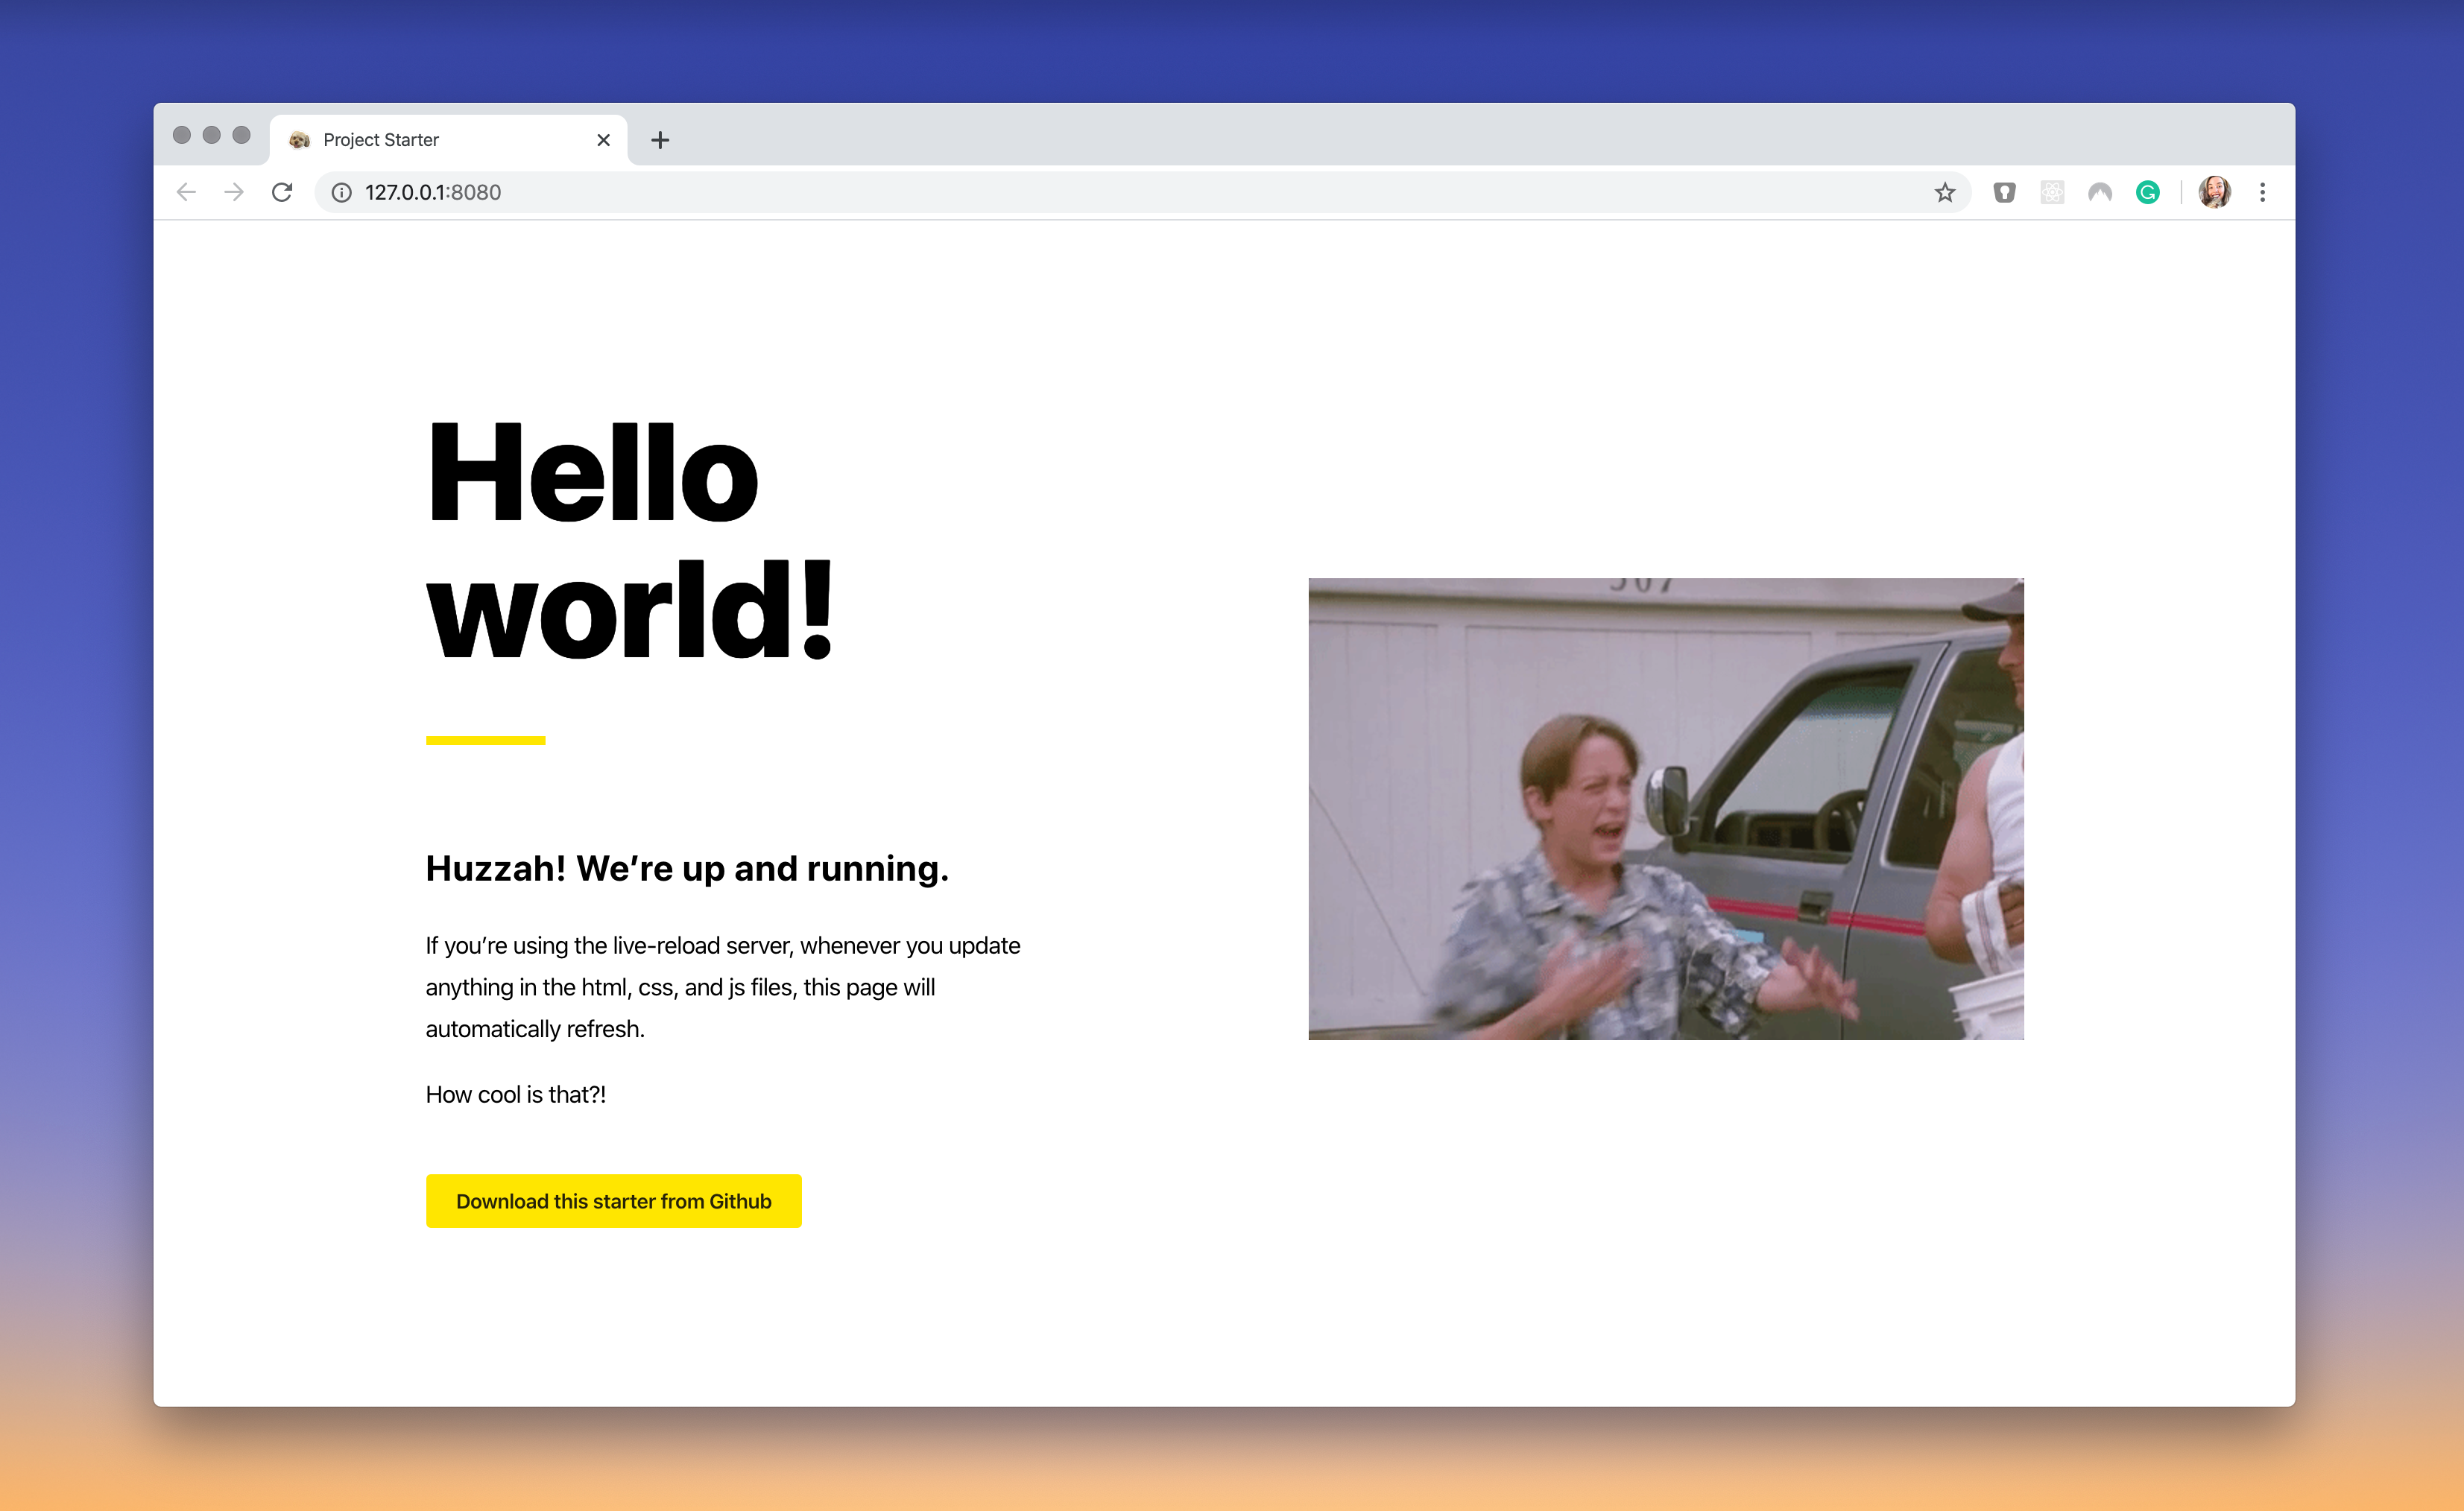
A browser tab should automatically open at http://127.0.0.1:8080/.
Editing the project
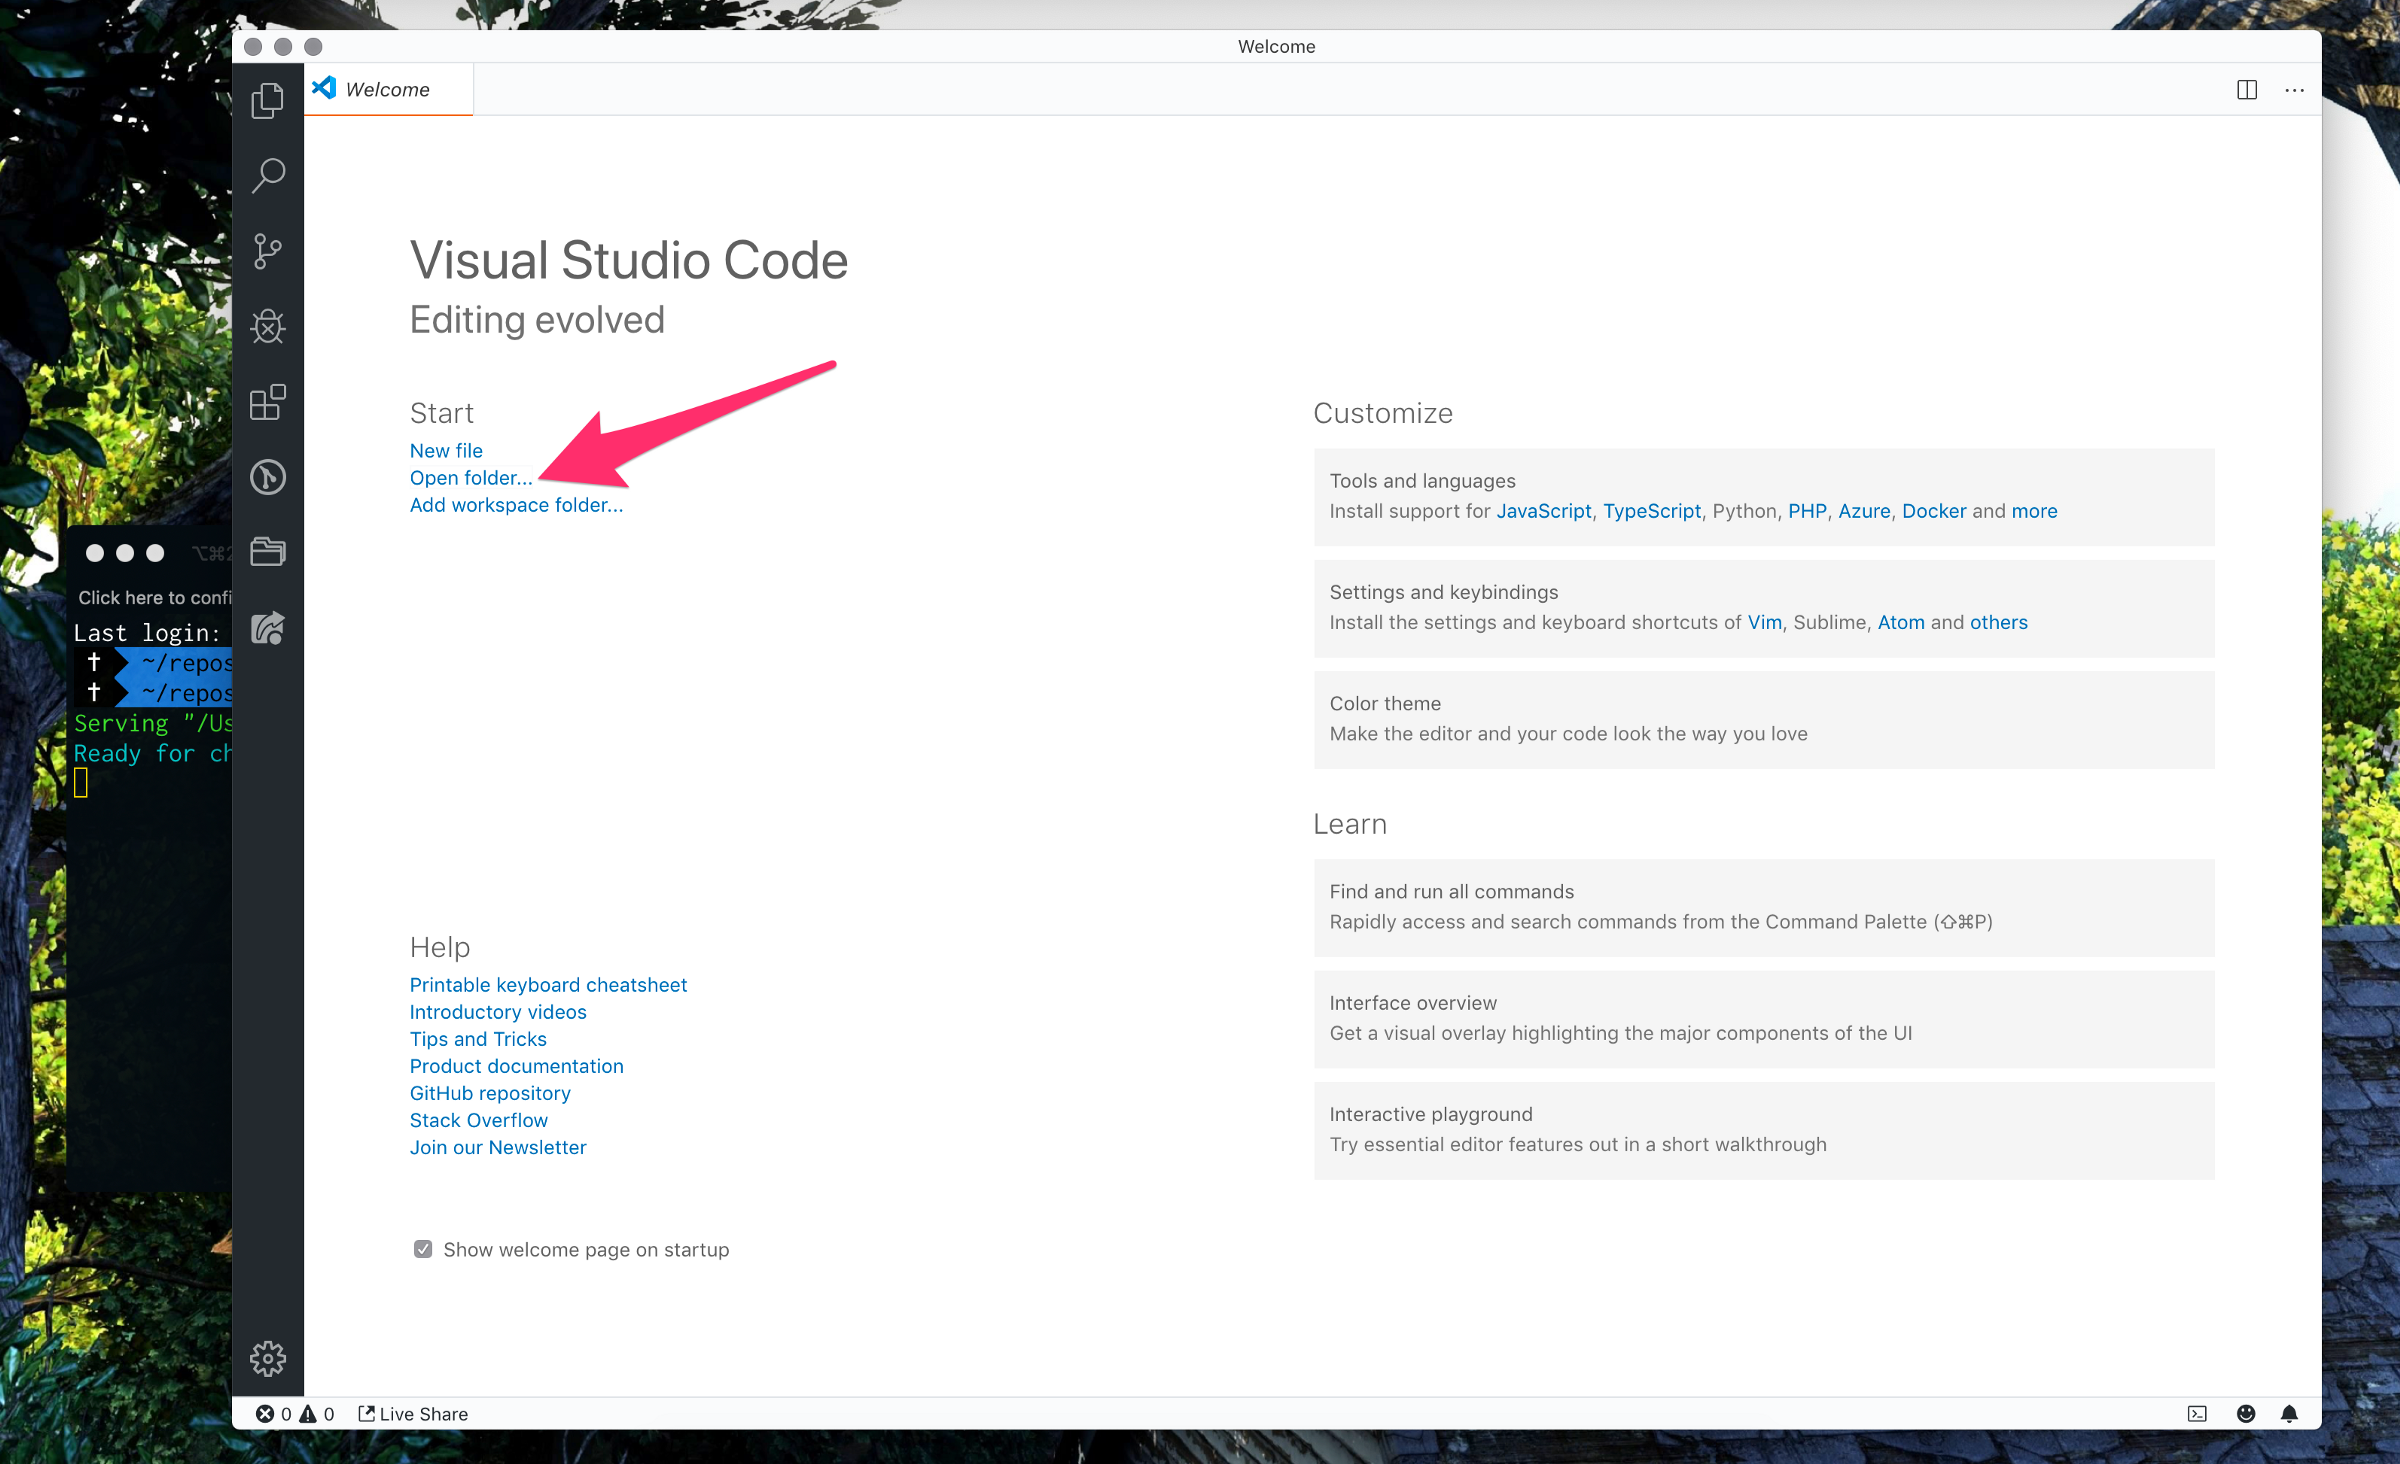
Start VSCode and open the our-project-starter folder. Your terminal is already running the live-server from this same folder location.
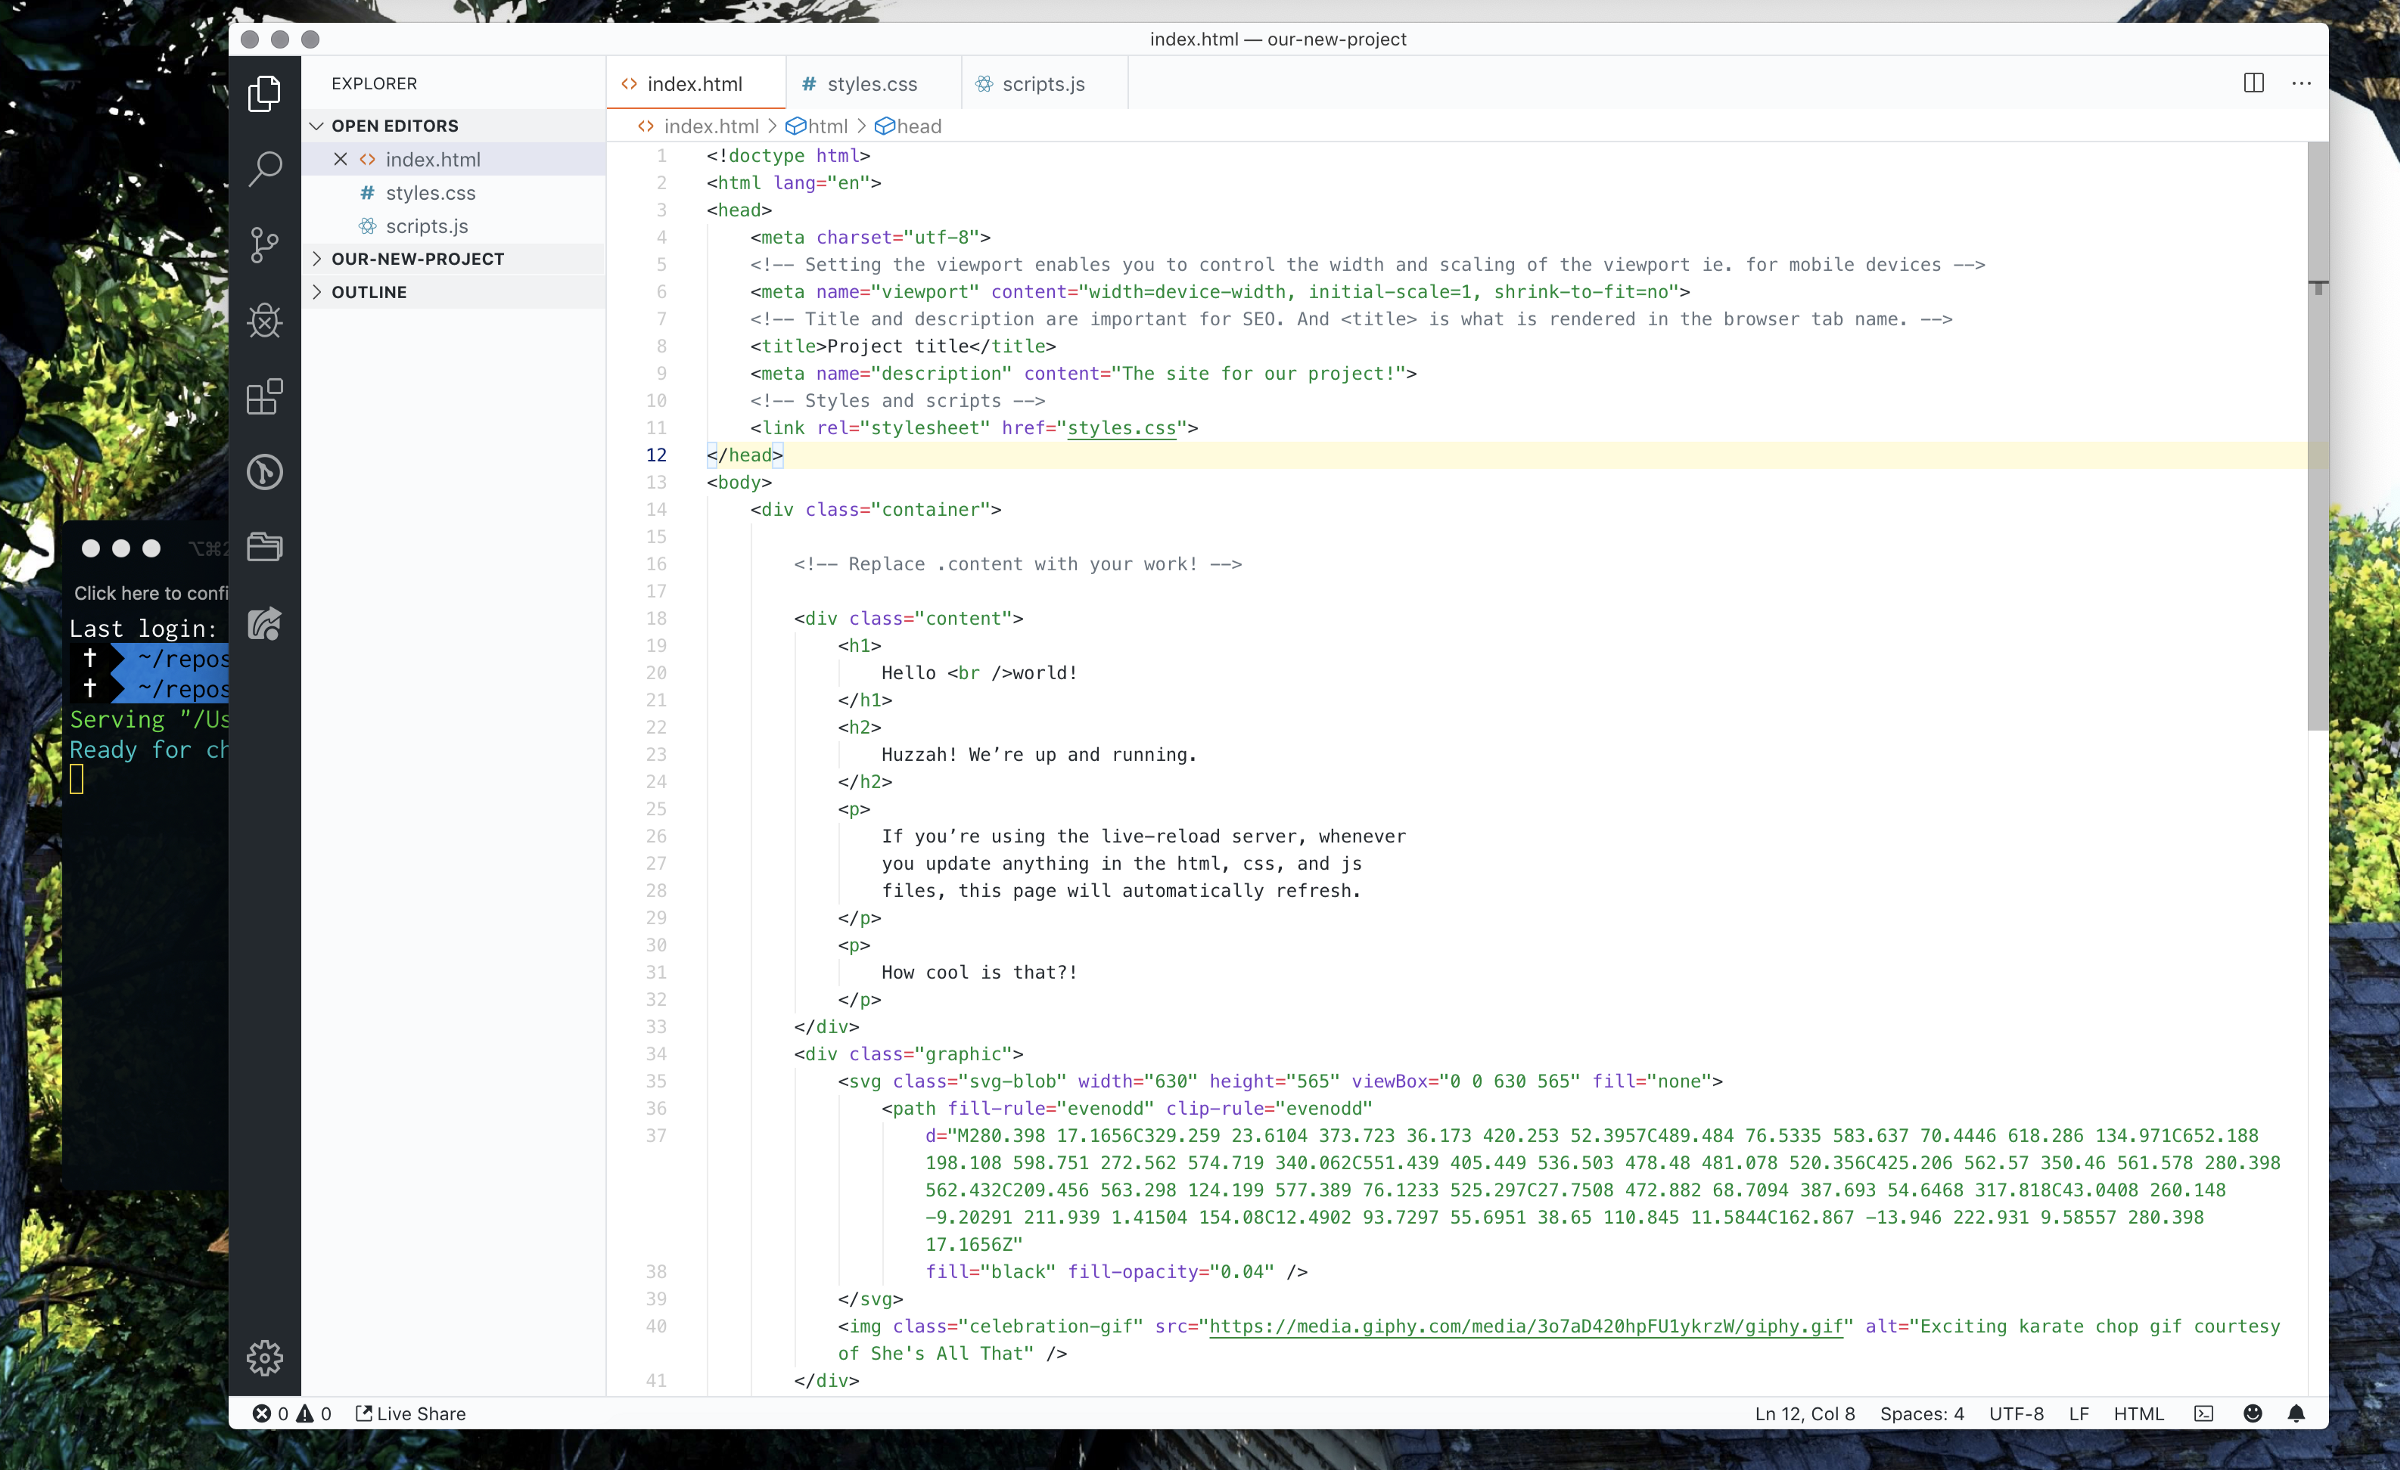
In index.html we have a basic html structure with our content inside of the <body> tag. To see hot reload in action, let’s edit the <h1> and save.
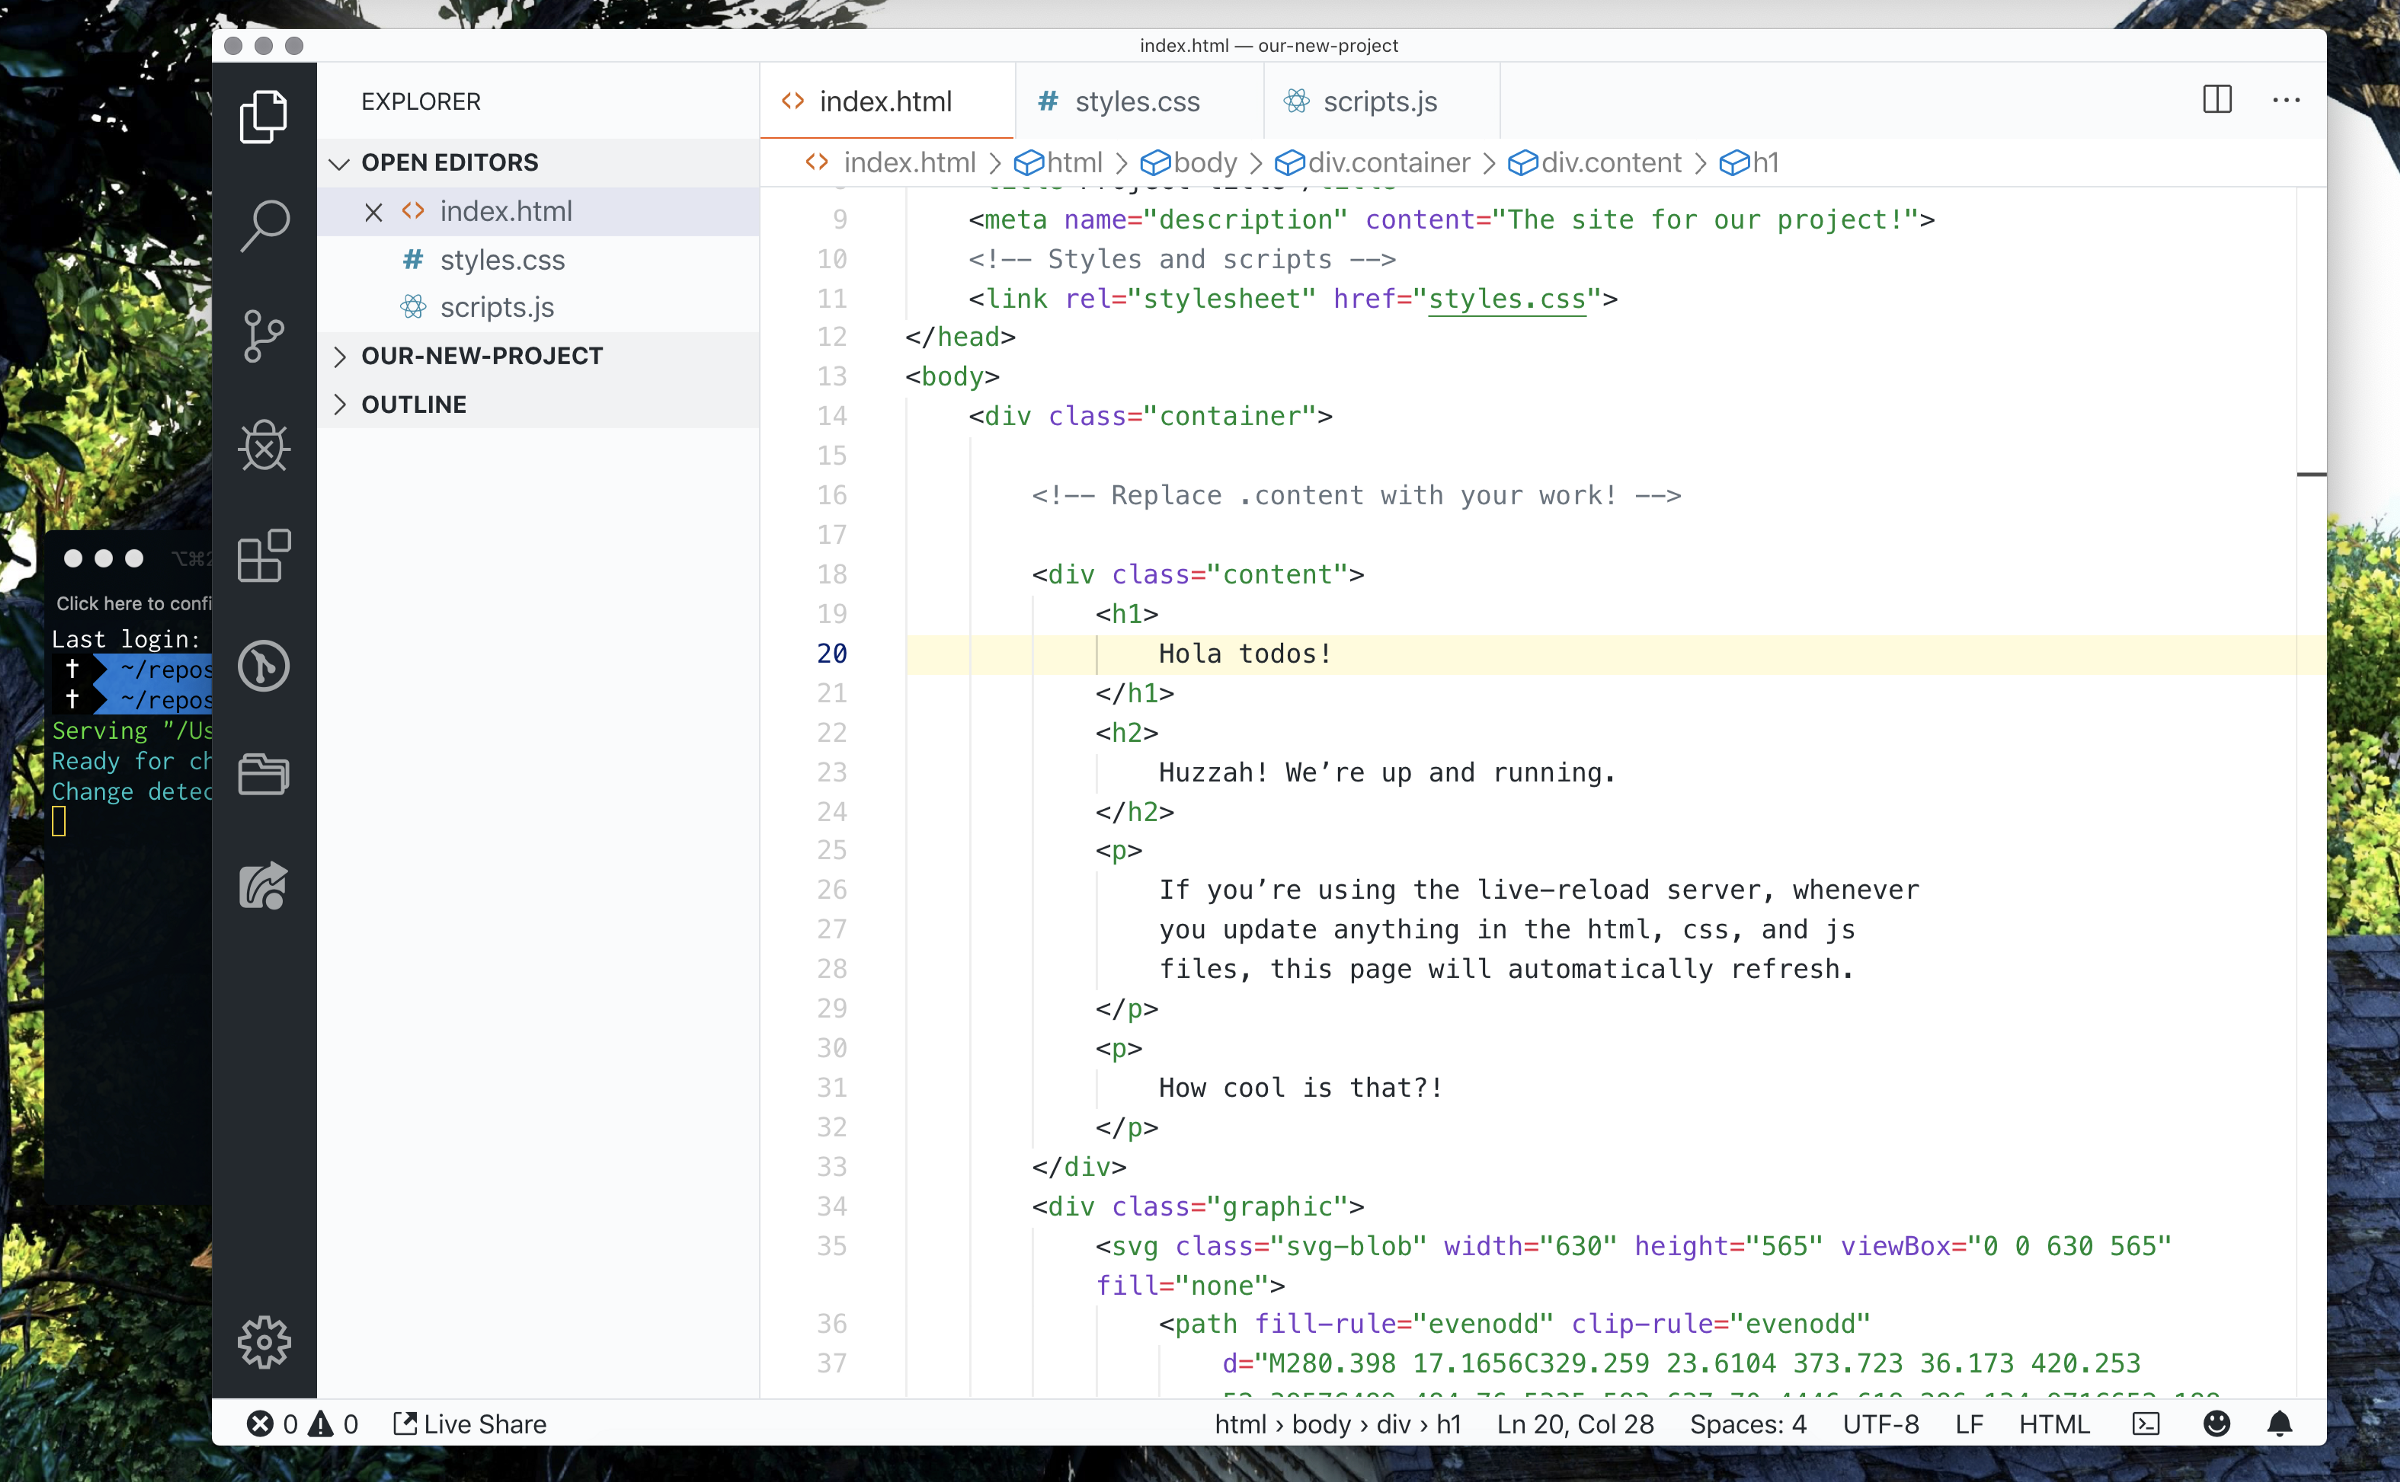
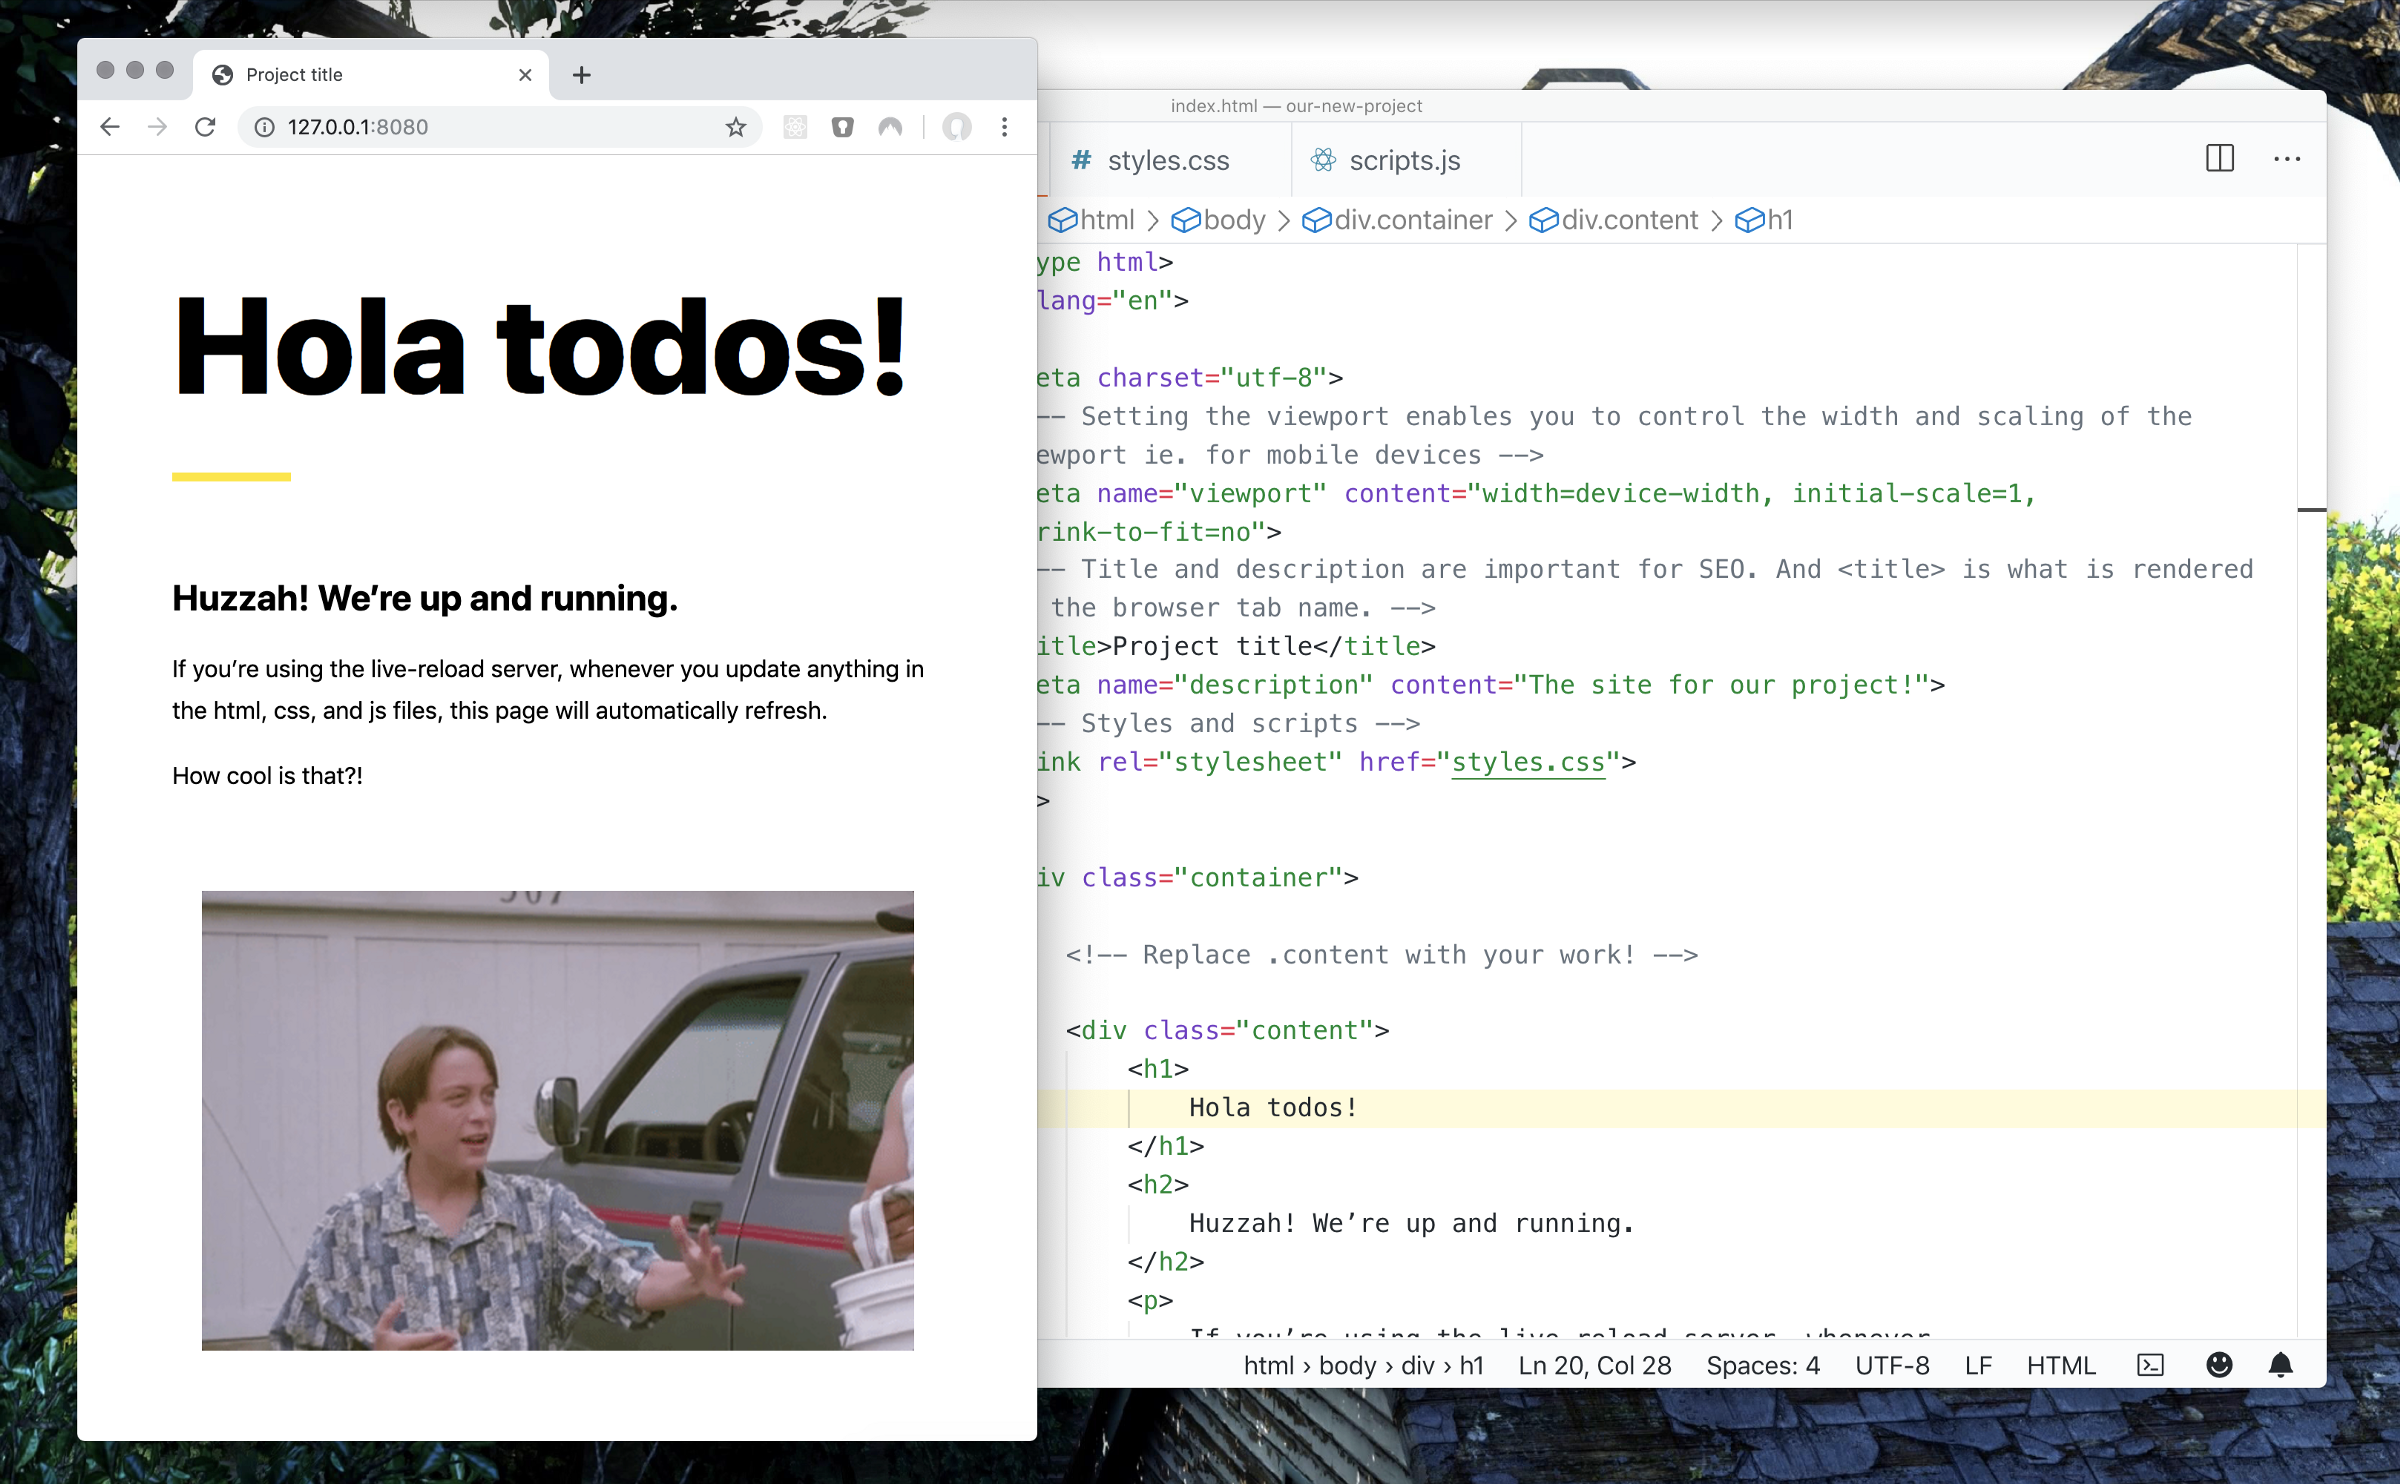
Boom! The world is our oyster. Continue editing the project files.
Additional starters
D3.js
D3.js is a powerful JavaScript library used to produce dynamic, interactive data visualizations on the web.
D3.js starter:
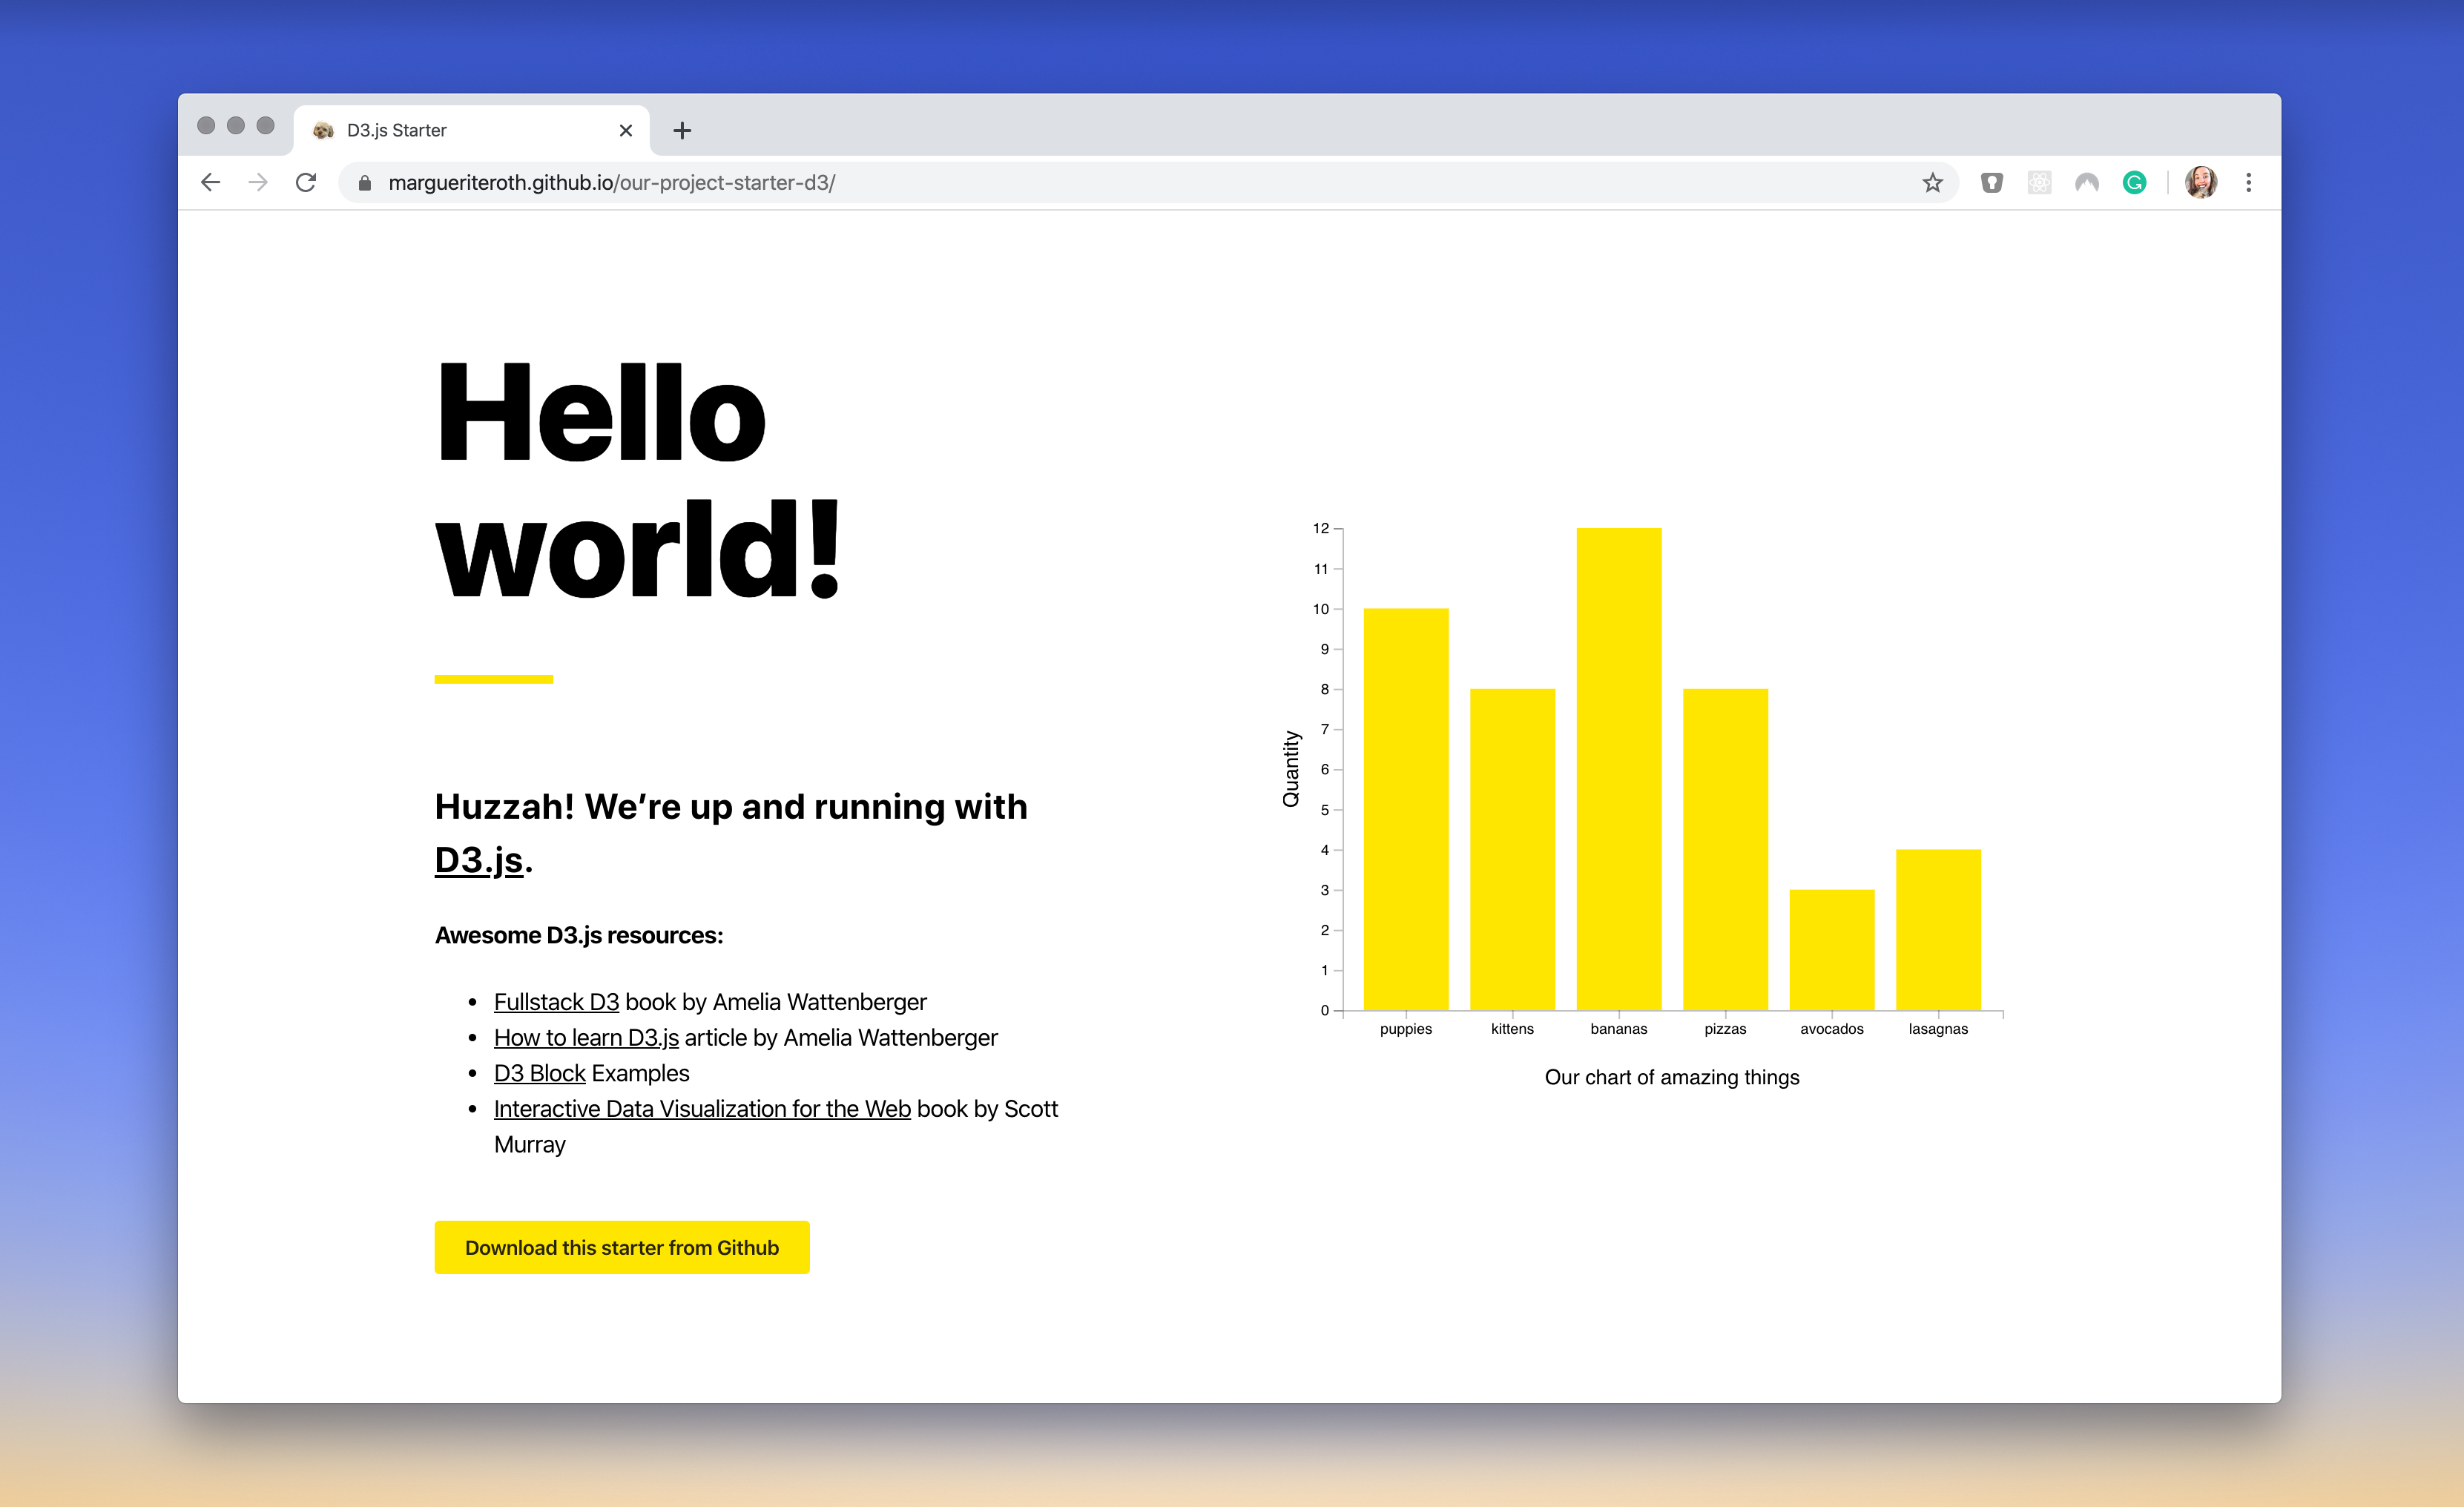
Awesome D3.js resources:
- Fullstack D3 book by Amelia Wattenberger
- D3 Block examples, originally created by Mike Bostock
- Interactive Data Visualization for the Web book by Scott Murray
CSS Frameworks
CSS frameworks provide a basic structure for designing consistent responsive layouts, elements, and functionality for the web. A main benefit is they provide a complete toolkit at the onset of a project and you don’t have to write custom styles if you don’t want to.
Chris Coyier has a great article about the pros and cons to using a CSS framework.
Tailwind:
Tailwind is a popular CSS framework that offers a comprehensive set of pre-designed CSS styles and utility classes that can be used to easily and quickly build custom user interfaces for web applications. The framework provides a set of low-level utility classes that can be combined to create complex UI components, saving developers time (though I think everyone should be comfortable with CSS!).
Initially released in 2017, Tailwind gained popularity in ~2020.
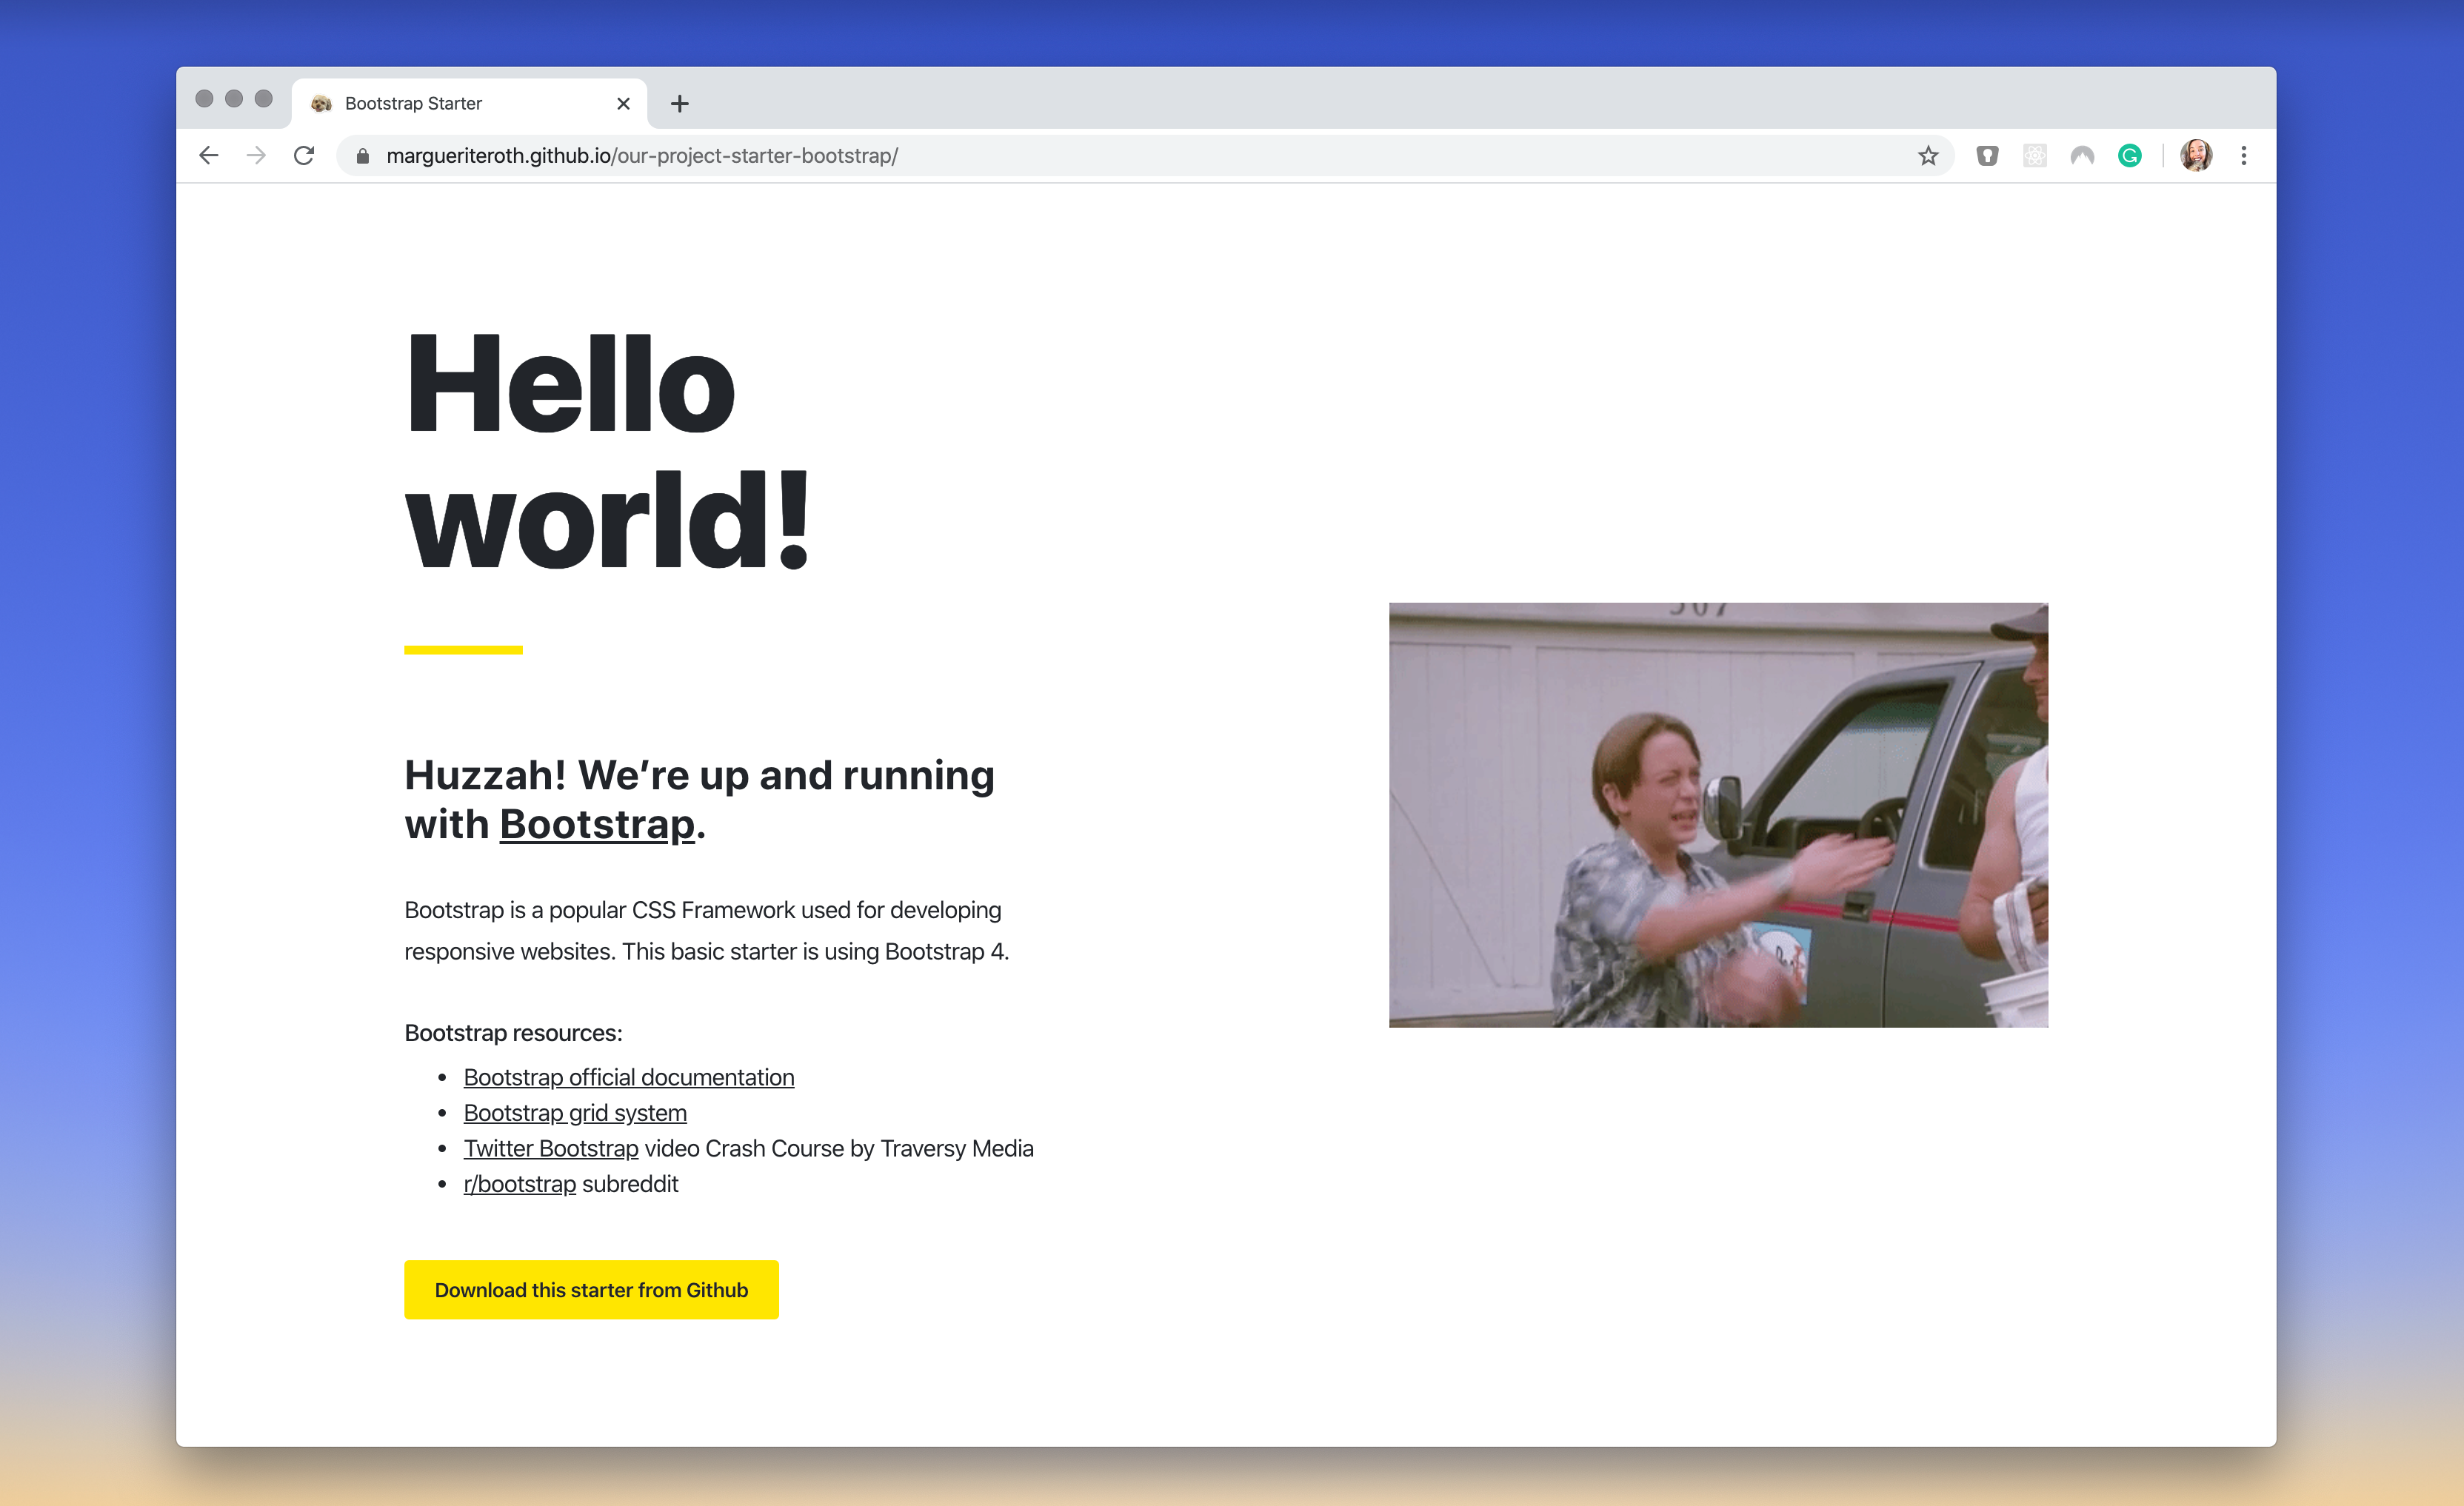
Twitter Bootstrap starter:
That’s it! Let me know how it goes and don’t hesitate to reach out if you have any questions.

